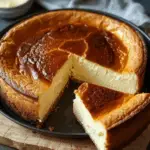
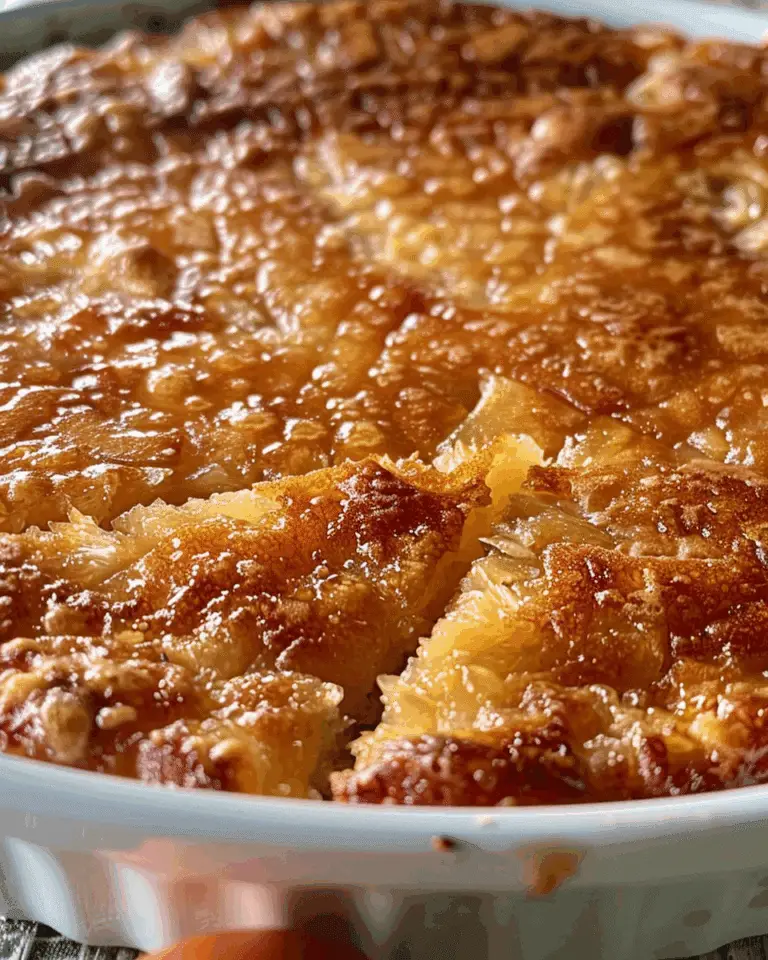
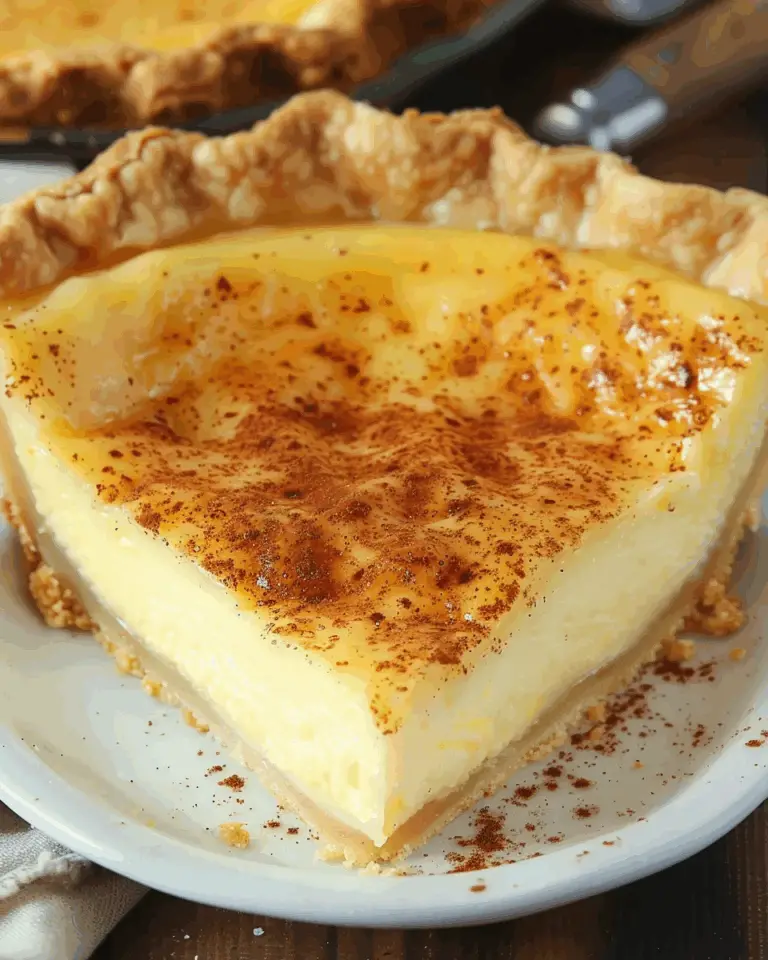
A rustic, caramelized cheesecake baked in a loaf pan for a uniquely creamy and slightly charred dessert—I love how this twist on Basque cheesecake gives rich flavor in a convenient loaf shape that’s easy to slice and serve.
Why You’ll Love This Recipe
I love how this cheesecake delivers the iconic creamy, custard-like interior with a deeply caramelized top, all in loaf form—no need for a springform pan or water bath. It’s elegant yet effortlessly easy, and perfect for slicing into neat servings for gatherings or weekend indulgence.
ingredients
(Here’s a tip: Check out the full list of ingredients and measurements in the recipe card below.)
-
Cream cheese, softened
-
Granulated sugar
-
Eggs
-
Heavy cream
-
All-purpose flour
-
Vanilla extract
-
Optional: a pinch of salt or lemon zest for brightness
directions
-
I preheat the oven to 400 °F (200 °C). I line a 9×5-inch loaf pan with parchment, letting it extend over the sides for easy lifting.
-
In a large bowl, I beat the cream cheese and sugar until smooth and free of lumps.
-
I add eggs one at a time, mixing until just incorporated.
-
I gently whisk in heavy cream and vanilla, then sift in flour (and salt or zest if using), folding until barely mixed and fully smooth.
-
I pour the batter into the prepared pan, smoothing the top, and place it on a baking sheet to catch any drips.
-
I bake for about 40–50 minutes, until the top is deeply golden-brown and the edges are set but the center still jiggles slightly when shaken.
-
I turn off the oven, crack the door, and let the cheesecake cool inside for about 15 minutes—this helps prevent cracks.
-
I lift the cheesecake out using parchment overhang and cool it completely before slicing.
-
For best texture, I chill it for at least 4 hours or overnight—it becomes creamy and easier to slice.
Servings and timing
This loaf serves 8–10 slices. Prep takes about 15 minutes; baking is 40–50 minutes; cooling and chilling require 4+ hours—plan for at least 5 hours total, preferably overnight.
Variations
-
Citrus touch: I stir in a teaspoon of lemon or orange zest into the batter for a bright finish.
-
Chocolate swirl: I drop melted chocolate on top halfway through baking for a marbled effect.
-
Brown butter: I brown the cream cheese (just browning butter before stirring in) for nutty depth.
-
Mini loaves: I bake in smaller loaf pans or ramekins for individual servings, reducing baking time to 25–30 minutes.
storage/reheating
I store the cheesecake wrapped in plastic or in an airtight container in the fridge for up to 5 days. I like to serve slices slightly chilled or at room temperature—no reheating needed, just bring it out 10–15 minutes before serving for best creaminess.
FAQs
Why use a loaf pan instead of a springform?
I use a loaf pan for easier slicing and simpler prep—no need for wrapping the pan or running a pan of water for the bake.
How do I know when it’s done?
I look for a deeply browned top and edges that are set, while the center still has a slight jiggle. It firms as it cools.
Can I freeze it?
Yes—I wrap the cooled cheesecake tightly and freeze up to 2 months. I thaw it in the fridge before serving.
Do I need to use full-fat cream cheese?
I recommend full-fat for rich texture; lower-fat versions can result in a less creamy, slightly drier cheesecake.
Can I add toppings?
Absolutely—I love topping slices with fresh berries, a dollop of jam, a sprinkle of powdered sugar, or a drizzle of caramel or honey.
Conclusion
I find this Loaf Pan Basque Cheesecake to be a beautifully simple yet impressive dessert. It’s indulgent, creamy, and perfectly textured, and it’s easier than you’d expect. Let me know if you’d like suggestions for flavor variations or serving pairings!
Loaf Pan Basque Cheesecake
5 Stars 4 Stars 3 Stars 2 Stars 1 Star
No reviews
A rustic, caramelized Basque-style cheesecake baked in a loaf pan, offering a whisper-soft custardy interior and dark, flavorful top—elegant and effortlessly easy to slice.
- Author: Emma
- Prep Time: 15 minutes
- Cook Time: 40–50 minutes
- Total Time: 5 hours (including chilling)
- Yield: 8–10 slices
- Category: Dessert
- Method: Baking
- Cuisine: Basque-inspired
- Diet: Vegetarian
Ingredients
- 16 oz (450g) cream cheese, softened
- 3/4 cup (150g) granulated sugar
- 3 large eggs
- 1 cup (240ml) heavy cream
- 2 tablespoons all-purpose flour
- 1 teaspoon vanilla extract
- Optional: pinch of salt or 1 teaspoon lemon or orange zest
Instructions
- Preheat oven to 400°F (200°C). Line a 9×5-inch loaf pan with parchment, letting excess hang over the sides.
- In a bowl, beat cream cheese and sugar until smooth and lump-free.
- Add eggs one at a time, mixing until just combined after each addition.
- Gently whisk in heavy cream and vanilla. Sift in flour (and salt or zest if using), folding until the batter is smooth.
- Pour batter into the lined loaf pan and smooth the top. Place on a baking sheet to catch any drips.
- Bake 40–50 minutes, until the top is deeply golden brown and edges are set, while the center still wobbles slightly when shaken.
- Turn off oven, crack the door, and let the cake cool inside for 15 minutes to prevent cracks.
- Lift out cheesecake using the parchment overhang and cool completely. For best texture, refrigerate for at least 4 hours or overnight.
Notes
- Add citrus zest (lemon or orange) for brightness.
- Stir in or swirl melted chocolate mid-bake for a marbled effect.
- Brown the cream cheese batter slightly for a nutty, deeper flavor.
- Divide into mini loaf pans or ramekins for individual servings—bake 25–30 minutes.
- Serve slices chilled or at room temperature; top with berries, jam, caramel, or honey just before serving.
Nutrition
- Serving Size: 1 slice
- Calories: 360
- Sugar: 24g
- Sodium: 180mg
- Fat: 28g
- Saturated Fat: 17g
- Unsaturated Fat: 9g
- Trans Fat: 0g
- Carbohydrates: 26g
- Fiber: 0g
- Protein: 6g
- Cholesterol: 115mg


