I enjoy this recipe because there is no oven involved, yet it still delivers that true cheesecake experience. The contrast between the crunchy cereal crust and the smooth cheesecake filling makes every bite exciting. I also like that it can be made ahead of time, which makes it perfect for gatherings, holidays, or anytime I want dessert ready and waiting in the fridge.
Ingredients
(Here’s a tip: Check out the full list of ingredients and measurements in the recipe card below.)
For the Rice Krispy crust 3 tablespoons unsalted butter 4 cups mini marshmallows 6 cups crispy rice cereal Pinch of fine salt
For the cheesecake filling 16 oz full-fat cream cheese, softened 1 cup confectioners’ sugar, sifted 1 teaspoon vanilla extract 1 1/2 cups cold heavy whipping cream 2 tablespoons granulated sugar
Directions
I start by lightly greasing a 9×13-inch baking dish and setting it aside.
In a large pot or Dutch oven, I melt the butter over low heat. I add the marshmallows and a pinch of salt, stirring constantly until the mixture is completely smooth and melted.
I remove the pot from the heat and immediately stir in the crispy rice cereal, making sure every piece is evenly coated.
I transfer the warm mixture into the prepared baking dish and press it firmly and evenly into the bottom of the pan using lightly buttered hands or parchment paper. I let the crust cool completely.
For the cheesecake layer, I beat the softened cream cheese on medium-high speed until smooth and lump-free. I reduce the speed and gradually mix in the confectioners’ sugar, then add the vanilla extract. I scrape down the bowl and beat again until creamy, then transfer the mixture to a separate bowl.
In the same mixer bowl, I whip the cold heavy cream until soft peaks form. I add the granulated sugar and continue whipping until firm, spreadable peaks form.
I gently fold one-third of the whipped cream into the cream cheese mixture, then carefully fold in the remaining whipped cream until fully combined.
I spread the cheesecake filling evenly over the cooled Rice Krispy crust, cover the pan, and refrigerate for at least 4 hours, preferably overnight, until fully set.
Servings and Timing
I usually cut this into about 12 servings. Prep time: about 25 minutes Chill time: at least 4 hours Total time: around 4 hours and 25 minutes
Variations
I sometimes add mini chocolate chips or crushed cookies into the cheesecake layer for extra texture. When I want a fruity version, I swirl in strawberry or raspberry jam before chilling. I also like topping it with melted chocolate or caramel just before serving for a more decadent finish.
Storage/Reheating
I store this cheesecake covered in the refrigerator for up to 4 days. Since it is a no-bake dessert, I never reheat it. I serve it straight from the fridge for the best texture and clean slices.
FAQs
Can I make this dessert ahead of time?
I often make it the night before, and I find that it sets even better after chilling overnight.
Does the crust get hard in the fridge?
I notice it firms up nicely but still stays slightly chewy and easy to cut.
Can I use low-fat cream cheese?
I prefer full-fat for the creamiest texture, but low-fat works if I accept a slightly softer filling.
How do I get clean slices?
I use a sharp knife and wipe it clean between each cut for neat squares.
Can I freeze this cheesecake?
I freeze individual slices when needed, then thaw them overnight in the refrigerator before serving.
Conclusion
I keep this Rice Krispy Treat no-bake cheesecake in my dessert rotation because it is fun, creamy, and always a hit. It gives me the comfort of a classic treat with the indulgence of cheesecake, all without turning on the oven. Every time I make it, it disappears faster than I expect.
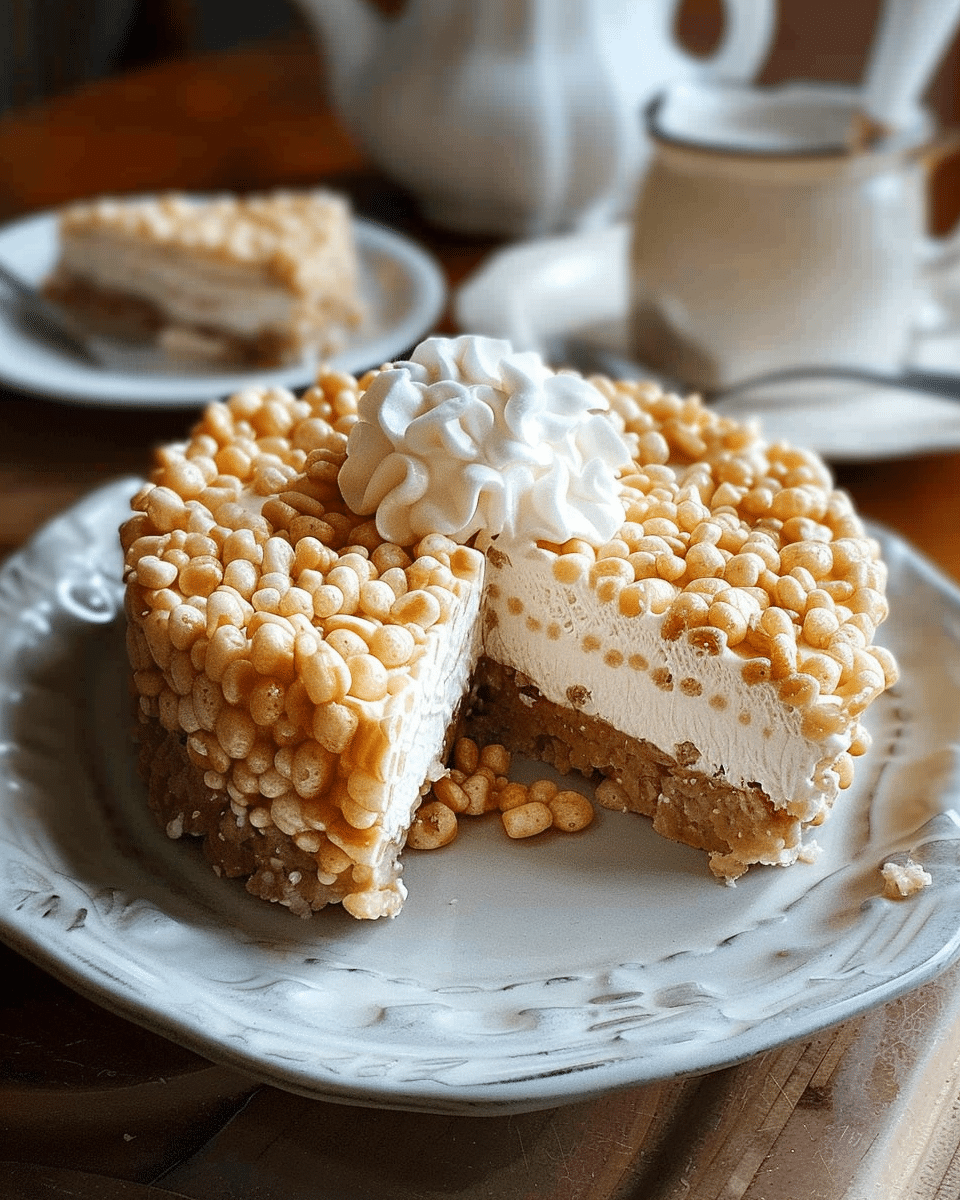
A creamy no bake cheesecake layered over a chewy Rice Krispy treat crust. This easy dessert is rich, fluffy, and perfect for parties, holidays, or make-ahead treats.
Author:Emma
Prep Time:25 minutes
Total Time:4 hours 25 minutes
Yield:12–15 squares
Category:Dessert
Method:No-Bake
Cuisine:American
Diet:Vegetarian
Ingredients
Rice Krispy Crust
3 tablespoons unsalted butter
4 cups mini marshmallows
6 cups crispy rice cereal
Pinch of fine salt
Cheesecake Filling
16 oz (2 blocks) full-fat cream cheese, softened
1 cup confectioners’ sugar, sifted
1 teaspoon pure vanilla extract
1 ½ cups cold heavy whipping cream
2 tablespoons granulated sugar
Instructions
Make the Rice Krispy Crust
Lightly grease a 9×13-inch baking dish and set aside.
In a large pot or Dutch oven, melt the butter over low heat. Add marshmallows and salt, stirring constantly until fully melted and smooth.
Remove from heat and immediately stir in the crispy rice cereal until evenly coated.
Transfer mixture to the prepared dish and press firmly into an even layer using buttered hands or parchment paper.
Set aside and allow the crust to cool completely.
Make the Cheesecake Filling
In a stand mixer or with a hand mixer, beat cream cheese on medium-high speed until smooth and lump-free (about 2 minutes).
Reduce speed to low, gradually add confectioners’ sugar, then mix in vanilla. Scrape bowl and beat again briefly until creamy. Transfer to a large bowl.
In the same mixer bowl, whip cold heavy cream using the whisk attachment until soft peaks form. Add granulated sugar and continue whipping until firm peaks form.
Gently fold one-third of the whipped cream into the cream cheese mixture, then carefully fold in the rest until smooth and fluffy.
Assemble & Chill
Spread the cheesecake filling evenly over the cooled cereal crust.
Cover and refrigerate for at least 4 hours, or preferably overnight, until fully set.
To Serve
Slice into squares using a sharp knife, wiping clean between cuts. Serve chilled.
Notes
Let the crust cool completely before adding the cheesecake layer to prevent melting.
For extra flavor, drizzle melted chocolate or caramel on top before chilling.
Store leftovers covered in the refrigerator for up to 4 days.


