I keep coming back to this recipe because it comes together quickly and tastes even better after chilling. The texture is light and fluffy, the flavor is rich but refreshing, and it’s perfect when I want a no-bake dessert that everyone recognizes and loves.
Ingredients
(Here’s a tip: Check out the full list of ingredients and measurements in the recipe card below.)
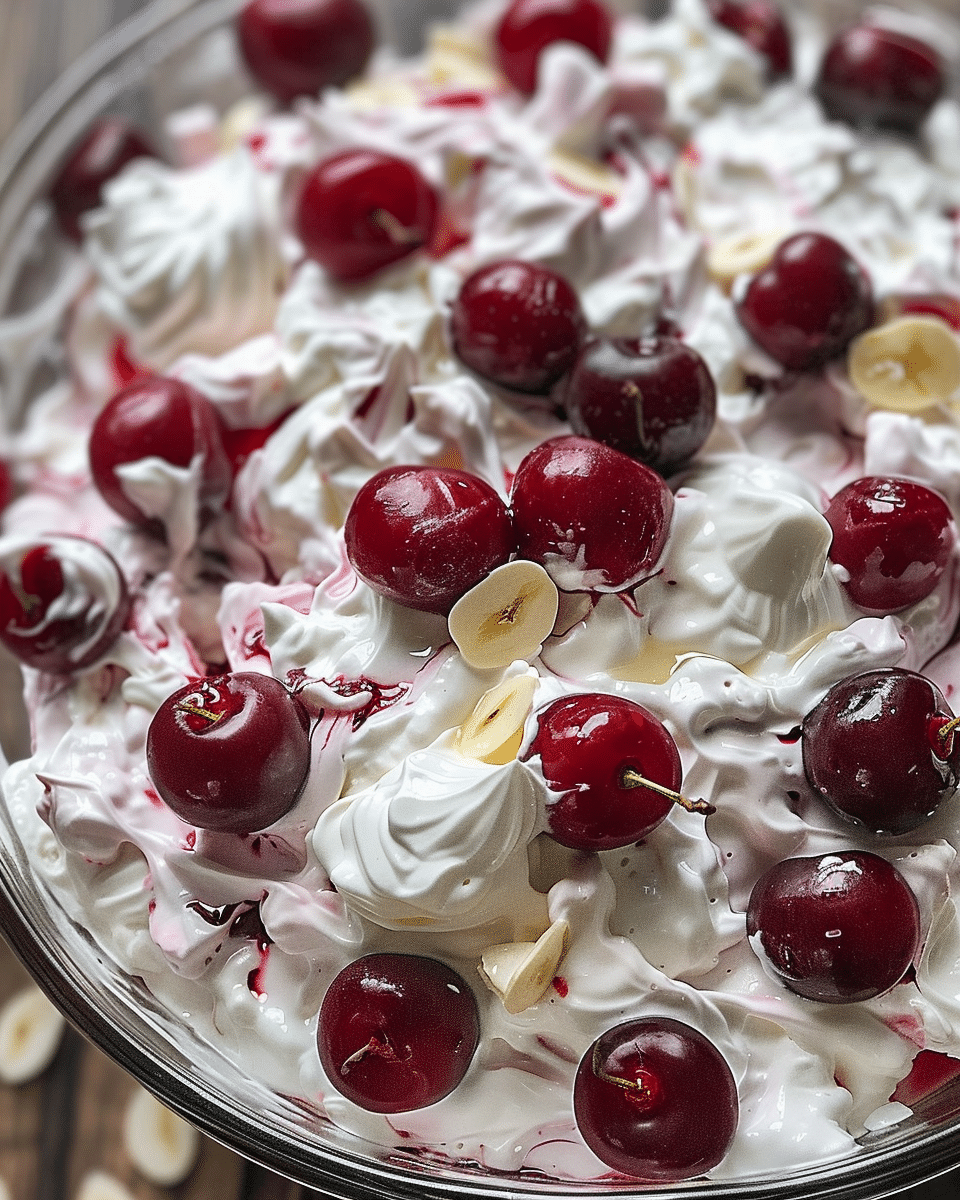
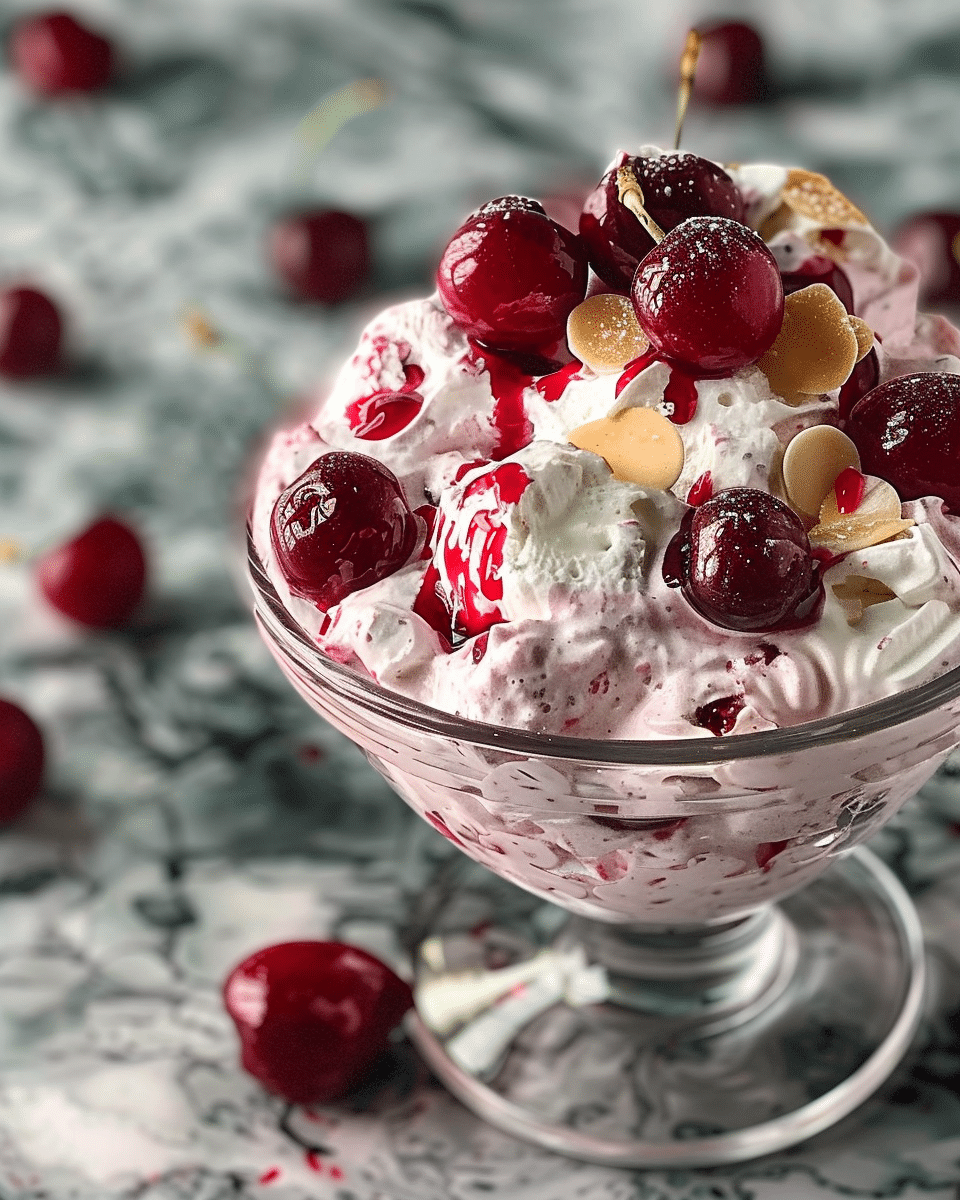
1 package cream cheese, softened (8 oz) 1 cup powdered sugar 1 teaspoon vanilla extract 1 tub whipped topping, thawed (8 oz) 1 can cherry pie filling (21 oz) 2 cups mini marshmallows 1/2 cup chopped pecans, optional
Directions
I start by beating the softened cream cheese in a large bowl until it’s completely smooth and creamy. I gradually mix in the powdered sugar and vanilla extract until everything is well combined.
I gently fold in the whipped topping until the mixture becomes light and fluffy. Once that’s done, I carefully stir in the cherry pie filling, mini marshmallows, and chopped pecans if I’m using them.
I cover the bowl and refrigerate the fluff until it’s nicely chilled. Before serving, I give it a gentle stir to bring everything together.
Servings and Timing
I make this recipe to serve about 8 people. Prep time takes around 10 minutes. Chill time is at least 2 hours. Total time comes to approximately 2 hours and 10 minutes.
Variations
I sometimes swap the cherry pie filling for blueberry or strawberry filling. When I want extra flavor, I add a splash of almond extract or mix in crushed pineapple. I also enjoy adding shredded coconut for a fun twist.
Storage / Reheating
I store cherry cheesecake fluff covered in the refrigerator for up to 3 days. I don’t reheat it, since it’s best served cold and creamy straight from the fridge.
FAQs
Can I make this dessert ahead of time?
I often make it the night before because the flavors meld and improve as it chills.
Can I use low-fat ingredients?
I’ve used low-fat cream cheese and whipped topping, and it still turns out delicious.
Do I have to use nuts?
I usually skip them when serving a crowd, but I like the crunch when I add them.
Is this a dessert or a side dish?
I serve it as a dessert, but I’ve seen it disappear quickly from potluck tables alongside main dishes.
Can I freeze cherry cheesecake fluff?
I don’t recommend freezing it, since the texture changes once thawed.
Conclusion
This cherry cheesecake fluff is one of my favorite no-bake desserts because it’s simple, comforting, and full of nostalgic flavor. I love how effortless it is to prepare and how it always brings smiles to the table, whether it’s for a holiday, picnic, or casual family meal.


