I enjoy this recipe because it combines simplicity with impressive results. The cheesecake develops a deeply golden top while remaining silky and creamy inside. I also appreciate that there is no need for a water bath, making the process much easier than many classic cheesecake recipes. The flavor is rich, slightly caramelized, and perfectly balanced with a smooth vanilla aroma.
Ingredients
(Here’s a tip: Check out the full list of ingredients and measurements in the recipe card below.)
681 grams cream cheese, room temperature
200 grams granulated sugar
20 grams cornstarch (heaping tablespoon)
1/2 teaspoon fine sea salt
2 teaspoons vanilla extract
4 large eggs, room temperature
360 mL heavy whipping cream, room temperature
Directions
I preheat the oven to 400°F (204°C) and line an 8×3-inch round baking pan with two large sheets of parchment paper, leaving plenty of overhang. I secure the parchment with metal binder clips.
I place the cream cheese, sugar, cornstarch, salt, and vanilla extract into the bowl of a stand mixer or a large mixing bowl. Using low speed, I beat the mixture until completely smooth and free of lumps, scraping the bowl as needed.
With the mixer running on low speed, I add the eggs one at a time, allowing each egg to fully incorporate before adding the next.
I scrape the bowl again and slowly pour in the heavy whipping cream while mixing on low speed until the batter becomes smooth and fully combined.
I pour the batter through a large sieve into the prepared pan to remove any remaining lumps or air bubbles. Then I gently tap the pan on the counter and bake for 45 minutes.
I look for a light to medium brown top with puffed edges and a slightly jiggly center. For a darker burnt finish, I switch the oven to broil during the last 1 to 2 minutes of baking.
I allow the cheesecake to cool in the pan for at least 2 hours at room temperature before refrigerating it for 4 to 6 hours, or overnight, before serving.
Servings and timing
Servings: 10
Preparation Time: 10 minutes
Baking Time: 45 minutes
Cooling Time: 2 hours
Chilling Time: 6 hours
Total Time: 8 hours 55 minutes
Variations
I sometimes add a tablespoon of lemon juice for a subtle citrus note that brightens the rich filling. When I want a deeper flavor, I mix in a little almond extract alongside the vanilla. For a chocolate version, I fold melted dark chocolate into the batter before baking. I also enjoy serving the cheesecake with fresh berries, fruit compote, or a light dusting of powdered sugar.
storage/reheating
I store leftover cheesecake covered in the refrigerator for up to 5 days. For longer storage, I wrap individual slices tightly and freeze them for up to 2 months. When I want to enjoy frozen cheesecake, I thaw it overnight in the refrigerator. I prefer serving this cheesecake chilled or slightly softened at room temperature rather than reheating it.
FAQs
What makes San Sebastian Cheesecake different from traditional cheesecake?
I find that San Sebastian Cheesecake is intentionally baked at a high temperature to create its signature caramelized top and creamy center. It also skips the water bath commonly used for traditional cheesecakes.
Why is my cheesecake still jiggly in the center?
I expect a slight jiggle in the center when the cheesecake comes out of the oven. It continues to set as it cools and chills in the refrigerator.
Can I make this cheesecake ahead of time?
I actually prefer making it a day in advance because the texture and flavor improve after chilling overnight.
Do I need a springform pan?
I do not need a springform pan for this recipe. A deep 8-inch round cake pan lined with parchment paper works very well.
Can I freeze San Sebastian Cheesecake?
I can freeze it successfully by wrapping it tightly after it has completely chilled. Thawing it slowly in the refrigerator helps maintain its creamy texture.
Conclusion
I love how this San Sebastian Cheesecake transforms a few simple ingredients into an elegant dessert with remarkable flavor and texture. The deeply caramelized top, creamy center, and easy preparation make it a standout recipe that I return to again and again. Whether I serve it for a celebration or a casual gathering, it always impresses with its rich taste and beautiful rustic appearance.
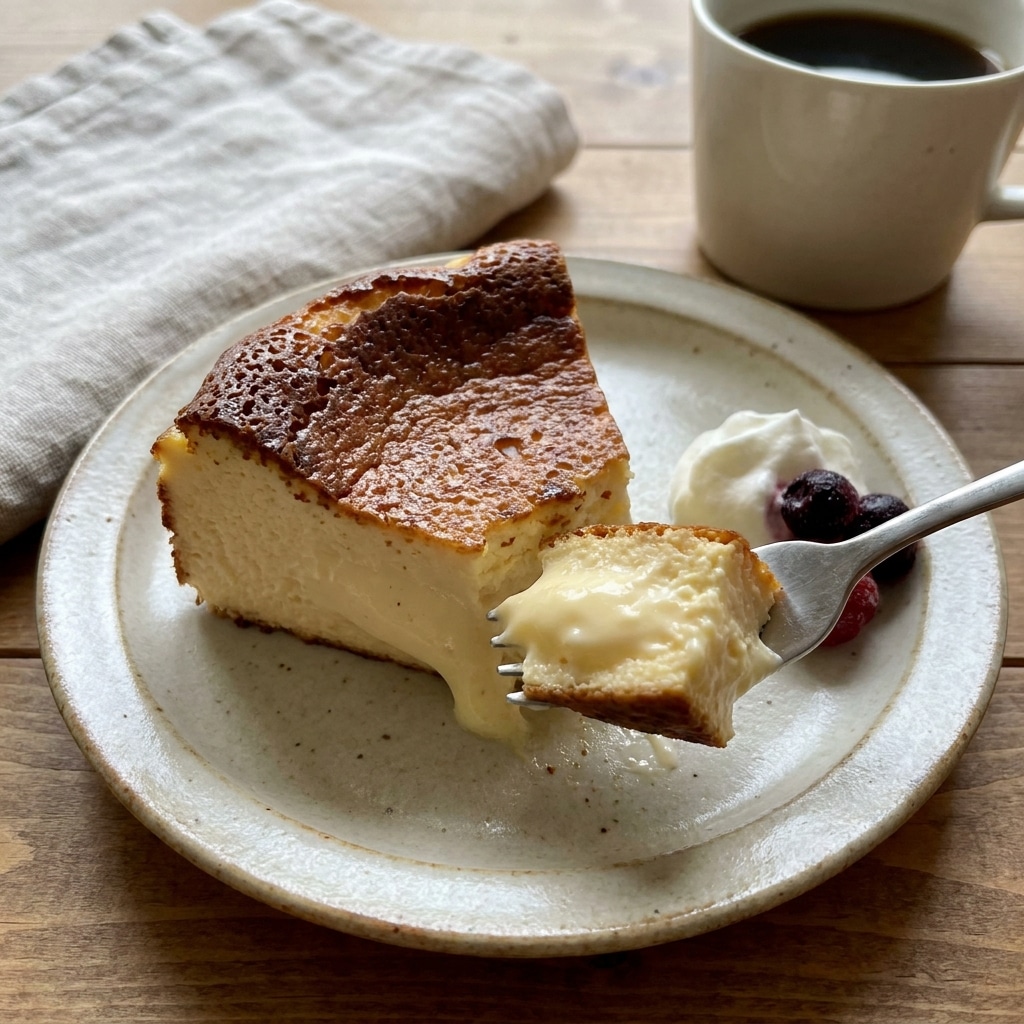
This famous burnt Basque cheesecake is rich, creamy, and irresistibly smooth with a beautifully caramelized top. A simple yet elegant dessert perfect for any occasion.
Author:Emma
Prep Time:10 minutes
Cook Time:45 minutes
Total Time:8 hours 55 minutes
Yield:10 servings
Category:Dessert
Method:Baking
Cuisine:Spanish (Basque)
Diet:Vegetarian
Ingredients
681 grams cream cheese, room temperature
200 grams granulated sugar
20 grams cornstarch (1 heaping tablespoon)
½ tsp fine sea salt
2 tsp vanilla extract
4 large eggs, room temperature
360 mL heavy whipping cream, room temperature
Instructions
Preheat the oven to 400°F (204°C). Line an 8 x 3-inch round baking pan with two large sheets of parchment paper, allowing plenty of overhang on all sides. Secure with metal binder clips if needed.
In the bowl of a stand mixer fitted with the paddle attachment (or using a hand mixer), beat the cream cheese, sugar, cornstarch, salt, and vanilla extract on low speed until completely smooth and free of lumps, about 2–4 minutes. Scrape down the sides and bottom of the bowl as needed.
With the mixer running on low speed, add the eggs one at a time, allowing each egg to fully incorporate before adding the next, about 30–60 seconds between additions.
Scrape the bowl again. With the mixer on low speed, slowly stream in the heavy whipping cream and mix until the batter is smooth and fully combined.
Pour the batter through a large sieve into the prepared pan to remove any lumps and excess air bubbles. Gently tap the pan on the counter a few times.
Bake for 45 minutes. The cheesecake should be puffed, lightly to deeply browned on top, set around the edges, and slightly jiggly in the center.
For a darker caramelized top, switch the oven to broil during the last 1–2 minutes of baking, watching carefully to prevent burning.
Let the cheesecake cool in the pan at room temperature for at least 2 hours.
Refrigerate for 4–6 additional hours or overnight before slicing and serving.
Notes
Room-temperature ingredients are essential for a smooth, lump-free batter.
Do not overmix the batter, as this can incorporate excess air and affect the texture.
The center should still jiggle slightly when removed from the oven; it will continue to set as it cools.
Chilling overnight provides the best flavor and texture.
Serve plain or with fresh berries, fruit compote, or a dusting of powdered sugar.
Store covered in the refrigerator for up to 5 days.


