I love this recipe because it transforms regular cookie dough into something more playful and versatile. The cup shape makes it easy to fill with caramel, ganache, or even frosting, which adds an extra layer of flavor.
I also enjoy how perfect these are for sharing. They are great for parties, snack trays, or just a fun baking project when I want something different from standard cookies.
Ingredients
(Here’s a tip: Check out the full list of ingredients and measurements in the recipe card below.)
1 cup unsalted butter, softened 3/4 cup brown sugar, packed 1/4 cup granulated sugar 2 large eggs 2 teaspoons vanilla extract 2 1/4 cups all-purpose flour 1 teaspoon baking soda 1/2 teaspoon salt 1 1/2 cups semi-sweet chocolate chips
optional mini chocolate chips or crushed cookies for topping optional caramel or ganache for filling optional sprinkles or frosting for decoration
Directions
I start by preheating the oven to 350°F (175°C) and greasing a 12-cup muffin tin or lining it with cupcake liners.
In a large bowl, I cream together the butter, brown sugar, and granulated sugar for about 2 to 3 minutes until the mixture becomes light and fluffy.
I add the eggs and vanilla extract, mixing until everything is well combined.
In a separate bowl, I whisk together the flour, baking soda, and salt. Then I gradually add the dry ingredients into the wet mixture, stirring just until combined.
I fold in the chocolate chips, making sure they are evenly distributed throughout the dough.
Next, I scoop about 2 tablespoons of dough into each muffin cup. I gently press the dough up the sides to form a cup shape.
I bake them for 10 to 12 minutes, until the edges turn golden brown.
As soon as they come out of the oven, I use a spoon to press down the centers again to maintain the cup shape.
I let them cool in the pan for about 10 minutes before transferring them to a wire rack. Once cooled, I fill or decorate them however I like.
Servings and timing
I get about 12 cookie dough cups from this recipe, making it perfect for sharing or serving at small gatherings.
I usually need around 27 minutes total, including preparation and baking time, which makes it a quick and satisfying dessert option.
Variations
I like experimenting with different fillings. Sometimes I fill the centers with caramel or chocolate ganache for a rich, gooey surprise. Other times, I use frosting or even peanut butter.
I also enjoy adding toppings like crushed cookies, mini chocolate chips, or colorful sprinkles. When I want something extra indulgent, I drizzle melted chocolate over the top.
For a different flavor twist, I sometimes mix white chocolate chips or nuts into the dough.
storage/reheating
I store the cookie cups in an airtight container at room temperature for up to 3 days. If I make them ahead, I usually wait to fill them until just before serving for the best texture.
For longer storage, I freeze the unfilled cookie cups and thaw them when needed. If I want them warm, I heat them briefly in the microwave for a few seconds.
FAQs
Can I make these without a muffin tin?
I prefer using a muffin tin to get the cup shape, but I can try shaping them on a baking sheet. They may spread more and not hold the same structure.
How do I keep the centers from puffing up?
I press the centers down right after baking while they are still soft. This helps maintain the cup shape.
Can I make edible cookie dough cups?
I can make a no-bake version by omitting the eggs and heat-treating the flour before mixing.
What fillings work best?
I like using caramel, ganache, frosting, or even fruit spreads. Anything soft and spoonable works well.
Can I freeze the dough?
I can freeze the dough and bake it later. I just let it thaw slightly before shaping and baking.
Conclusion
I love how these cookie dough cups turn a simple cookie recipe into something creative and customizable. They are easy to make, fun to decorate, and perfect for sharing. Whenever I want a dessert that stands out without being complicated, this is one of my favorite recipes to prepare.
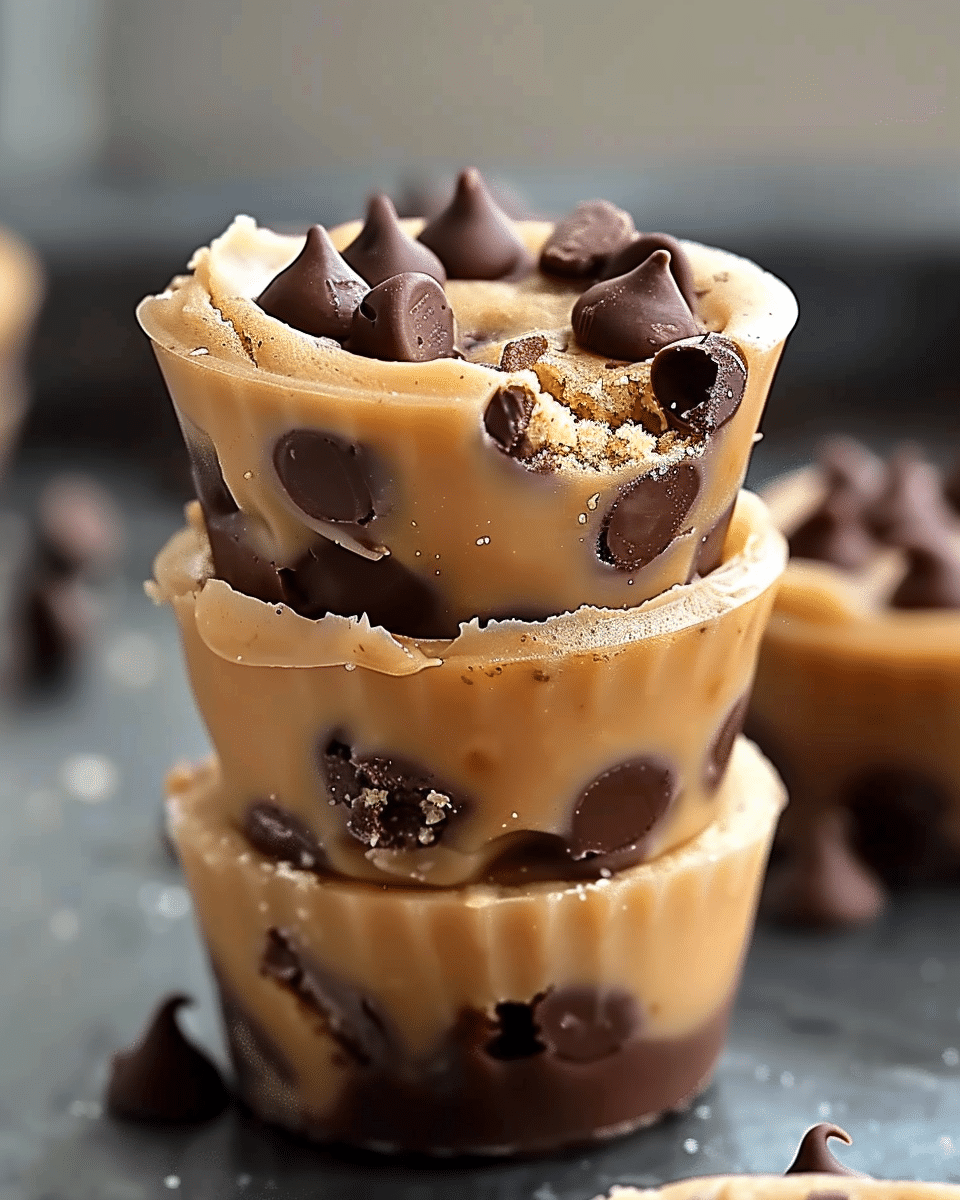
Soft, chewy Cookie Dough Cups packed with chocolate chips and baked to perfection, creating a fun and poppable dessert perfect for parties and sweet cravings.
Author:Emma
Prep Time:15 minutes
Cook Time:10–12 minutes
Total Time:27 minutes
Yield:12 cookie dough cups
Category:Dessert
Method:Baking
Cuisine:American
Diet:Vegetarian
Ingredients
1 cup (226 g) unsalted butter, softened
3/4 cup (150 g) brown sugar, packed
1/4 cup (50 g) granulated sugar
2 large eggs
2 teaspoons vanilla extract
2 1/4 cups (280 g) all-purpose flour
1 teaspoon baking soda
1/2 teaspoon salt
1 1/2 cups (270 g) semi-sweet chocolate chips
Optional Add-ins:
Mini chocolate chips or crushed cookies (for topping)
Caramel or ganache (for filling)
Sprinkles or frosting (for decoration)
Instructions
Preheat Oven:
Preheat oven to 350°F (175°C). Grease a 12-cup muffin tin or line with cupcake liners.
Cream Butter and Sugar:
In a large bowl, beat butter, brown sugar, and granulated sugar until light and fluffy (about 2–3 minutes).
Add Wet Ingredients:
Mix in eggs and vanilla extract until well combined.
Mix Dry Ingredients:
In a separate bowl, whisk together flour, baking soda, and salt. Gradually add to the wet mixture, mixing just until combined.
Add Chocolate Chips:
Fold in the chocolate chips evenly.
Shape the Cups:
Scoop about 2 tablespoons of dough into each muffin cup. Press dough slightly up the sides to form a cup shape.
Bake:
Bake for 10–12 minutes, until edges are golden brown.
Form the Centers:
Immediately press the center of each cookie with a spoon to create a defined cup shape.
Cool:
Let cool in the pan for 10 minutes, then transfer to a wire rack.
Fill & Decorate:
Add caramel, ganache, frosting, or toppings as desired before serving.
Notes
For edible/no-bake dough cups, omit eggs and heat-treat flour at 350°F (175°C) for 5 minutes.
Do not overbake to keep centers soft and chewy.
Store in an airtight container for up to 3 days or freeze unfilled cups for longer storage.
Press centers immediately after baking while still soft for best shape.


