Why You’ll Love This Recipe
I love how simple and quick these are to make, but the result is so eye-catching and tasty. There’s no baking required, which means less time in the kitchen and more time enjoying Halloween festivities. These truffles have the perfect balance of crunchy chocolate cookie and soft, creamy filling, all coated in a sweet white chocolate shell. Plus, shaping and decorating them like ghosts makes them a fun project for kids and adults alike.
Ingredients
(Here’s a tip: Check out the full list of ingredients and measurements in the recipe card below.)
For the Truffle Mixture
-
36 Oreo cookies (or gluten-free Oreos)
-
8 oz full-fat cream cheese, softened
For the Chocolate Coating
-
12 oz white chocolate (melted)
For Decoration
-
Sprinkles or edible candy eyes (optional)
Directions
-
I start by pulsing the Oreo cookies in a food processor until they become fine crumbs.
-
In a mixing bowl, I combine the cookie crumbs with softened cream cheese and stir until the mixture is smooth and holds together.
-
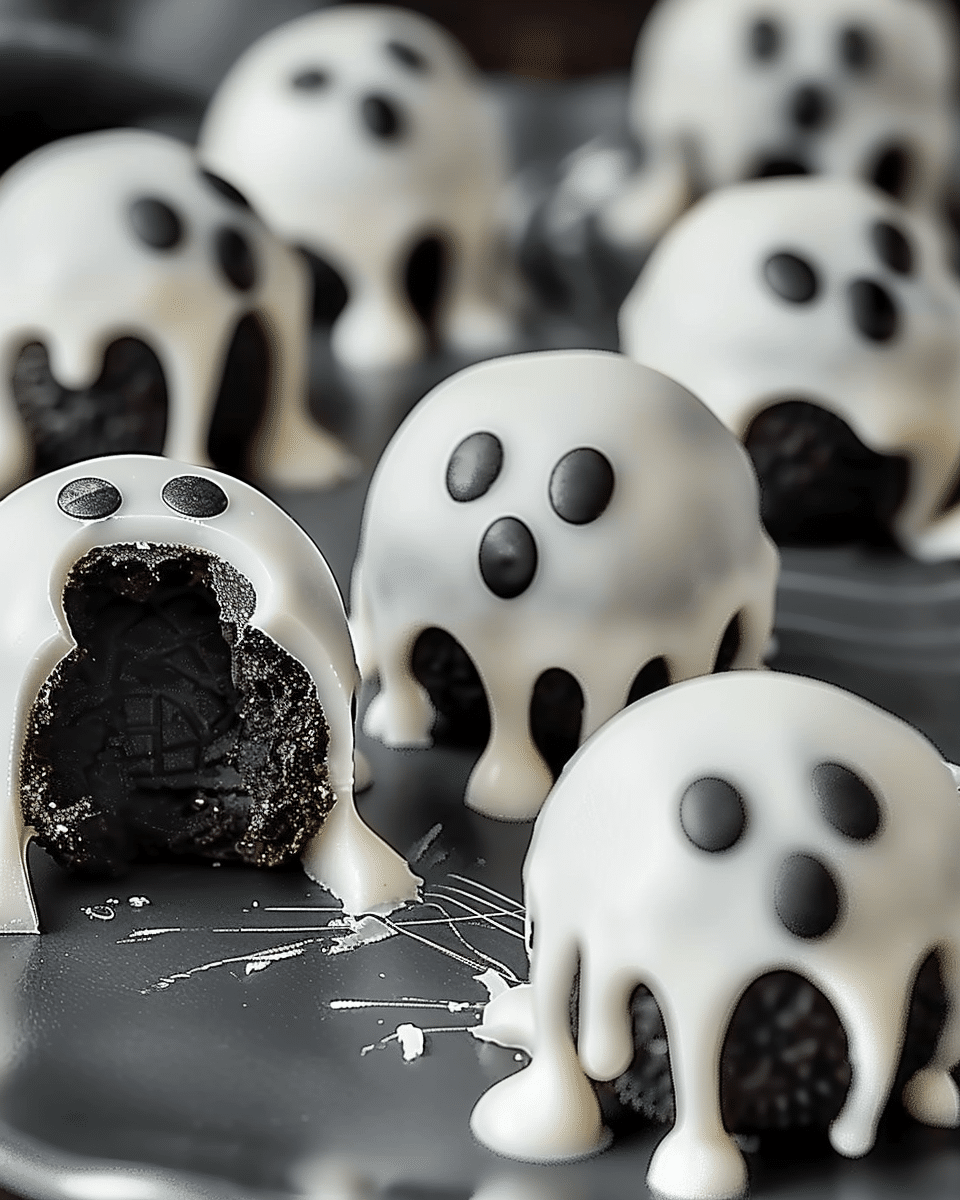
Using my hands, I scoop out portions of the mixture and roll them into balls, then shape each into ghost-like figures by slightly elongating the tops.
-
I place the shaped truffles on a parchment-lined baking sheet and chill them in the fridge for 15 minutes to firm up.
-
While they chill, I melt the white chocolate in a microwave-safe bowl, heating it in short bursts of 20–30 seconds and stirring in between until smooth.
-
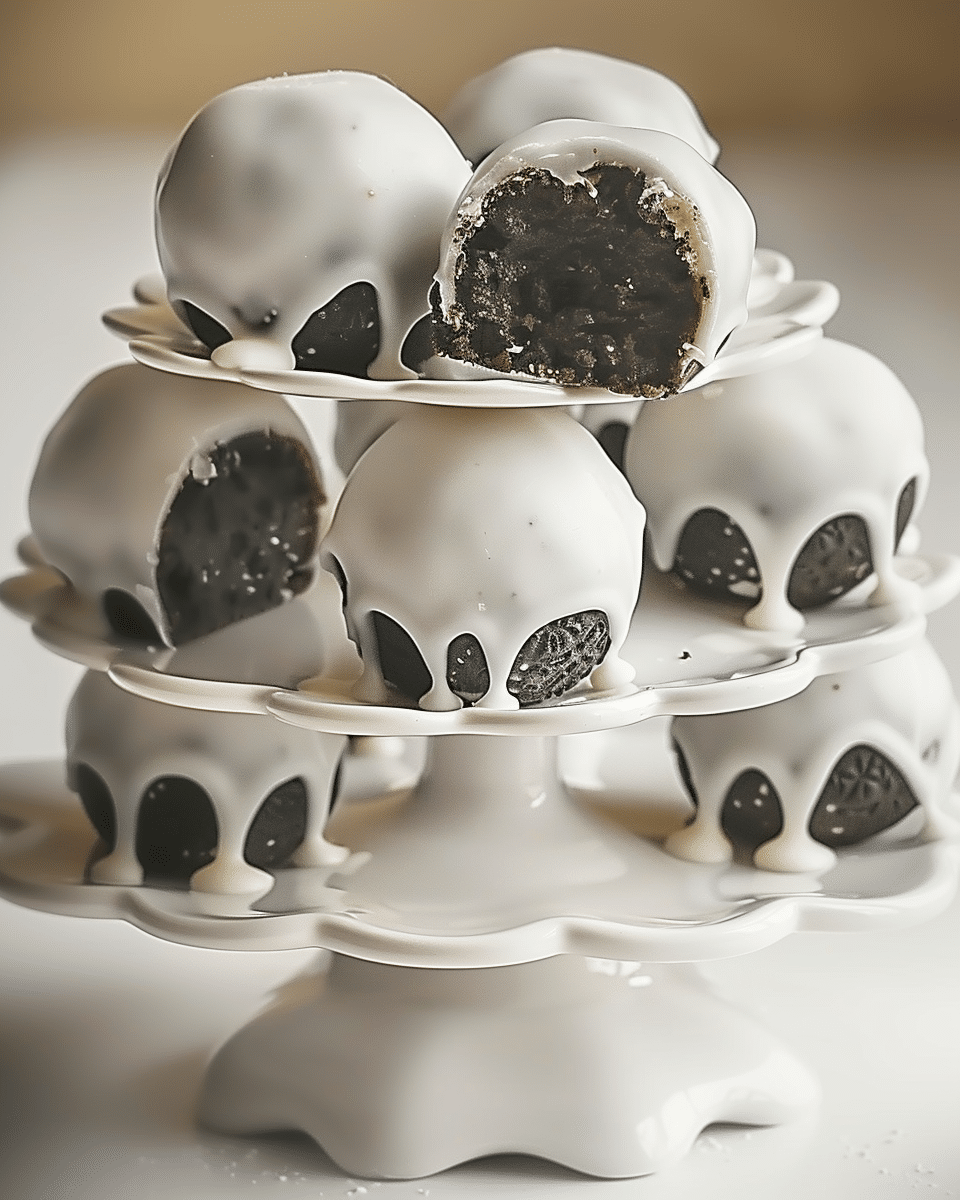
I dip each ghost truffle into the melted white chocolate, letting the excess drip off before setting them back on the parchment.
-
While the coating is still wet, I press on edible eyes or sprinkle decorations to give each ghost some personality.
-
I let the truffles sit at room temperature until the coating fully hardens—about 30 minutes. Then they’re ready to serve.
Servings and timing
This recipe makes 12 ghost truffles. It takes about 30 minutes to prepare and another 15 minutes for chilling. It’s a quick dessert I can make ahead of time or pull together last minute for a party or event.
Variations
Sometimes I swap the white chocolate for milk or dark chocolate to make spooky “shadow” ghosts. I’ve also used golden Oreos for a different flavor and color or added peppermint extract to the filling for a festive twist. If I want to make them look more realistic, I use a toothpick to drag down the white chocolate and give them a wispy ghost tail effect before it sets.
Storage/Reheating
I store the finished truffles in an airtight container in the fridge for up to a week. For longer storage, I freeze them on a baking sheet, then transfer to a container or freezer bag for up to a month. When serving from frozen, I let them thaw for about 15 minutes. They’re best enjoyed cold or slightly chilled—I don’t reheat them.
FAQs
Do I need a food processor to crush the Oreos?
Not necessarily. I’ve crushed them in a zip-top bag with a rolling pin when I don’t want to pull out the processor.
Can I use store-bought frosting instead of cream cheese?
I prefer the cream cheese for its tangy flavor and thicker texture, but in a pinch, thick vanilla frosting will work.
Can I make these ahead of time?
Yes! I often make them a day or two in advance and keep them chilled until party time.
What if I don’t have edible eyes?
No problem—I use mini chocolate chips or dots of melted chocolate to make eyes with a toothpick.
How do I keep the chocolate coating smooth?
I melt the white chocolate slowly and stir often. If it thickens too much, I add a teaspoon of coconut oil to thin it out.
Conclusion
These Ghost OREO Ball Truffles are one of my favorite Halloween treats to make. They’re no-fuss, rich in flavor, and always get a great reaction from guests. I love how customizable they are, and they’re the perfect combo of creepy and cute. Whether I’m making them with kids or preparing a grown-up dessert table, they always add that perfect Halloween touch.
Ghost OREO Ball Truffles – Easy No-Bake Halloween Delights
5 Stars 4 Stars 3 Stars 2 Stars 1 Star
No reviews
These no-bake ghost truffles are made with crushed Oreos, cream cheese, and white chocolate—spooky, sweet, and perfect for Halloween parties or treats.
- Author: Emma
- Prep Time: 30 minutes
- Total Time: 30 minutes
- Yield: 12 truffles
- Category: Desserts
- Method: No-Bake
- Cuisine: American
- Diet: Vegetarian
Ingredients
For the Truffle Mixture:
36 Oreo cookies (gluten-free option available)
8 oz full-fat cream cheese, softened
For the Chocolate Coating:
12 oz white chocolate, melted (or substitute milk/dark chocolate if preferred)
For Decoration (Optional):
Halloween sprinkles
Edible candy eyes
Instructions
Make Oreo Crumbs:
Place Oreo cookies in a food processor and pulse until they become fine crumbs.
Mix with Cream Cheese:
Transfer the crumbs to a mixing bowl.
Add softened cream cheese and mix until well-blended into a thick dough.
Form Ghost Shapes:
Scoop out tablespoon-sized portions and roll into balls.
Shape into ghost-like figures by flattening the base and creating a rounded top.
Chill the Truffles:
Place shaped truffles on a parchment-lined baking sheet.
Chill in the refrigerator for about 15 minutes to firm up.
Melt the Chocolate:
In a microwave-safe bowl, melt white chocolate in 20–30 second intervals, stirring in between until smooth.
Dip & Decorate:
Dip each chilled truffle into the melted chocolate, letting excess drip off.
While still wet, decorate with edible eyes or sprinkles.
Set the Coating:
Let the coated truffles sit at room temperature for about 30 minutes until the chocolate hardens completely.
Notes
Best served chilled but can sit out for 2–3 hours at a party.
Store in an airtight container in the fridge for up to 1 week or freeze for up to 1 month.
Use gloves or chilled hands when shaping to avoid melting.

