Why You’ll Love This Recipe
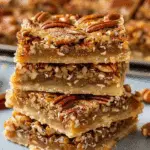
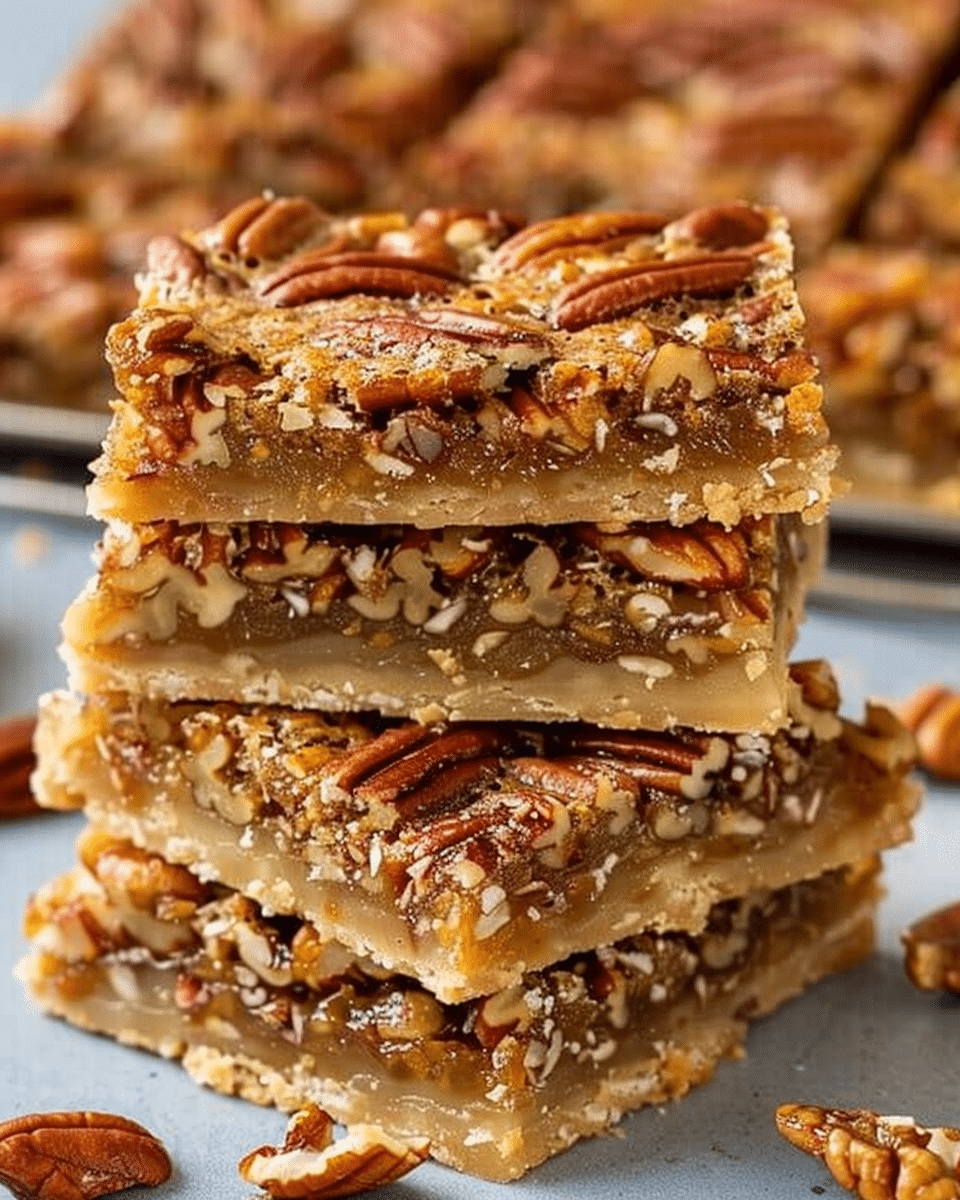
I enjoy these bars because they pack all the flavor of a traditional pecan pie into a more manageable, portable form. The shortbread base is tender and buttery, while the filling is perfectly sweet, nutty, and caramel-like. I also like that they’re easier to cut, serve, and store than a whole pie. Plus, they’re great made ahead of time, which is a lifesaver during busy holidays.
Ingredients
(Here’s a tip: Check out the full list of ingredients and measurements in the recipe card below.)
For the crust:
2 cups all-purpose flour
½ cup granulated sugar
¼ teaspoon salt
¾ cup butter, cold
4 tablespoons milk
For the filling:
4 large eggs
2 cups chopped pecans
¾ cup packed light brown sugar
1 cup light corn syrup
4 tablespoons butter, melted
2 teaspoons vanilla extract
Directions
-
I preheat the oven to 350°F and grease a 13×9-inch baking pan.
-
In a small mixing bowl, I stir together the flour, sugar, and salt. Then I slice the cold butter into tablespoon-size pieces and cut it into the flour mixture using a fork or pastry blender until it resembles coarse crumbs.
-
I pour in the milk and mix it with a fork at first, then with my hands until the dough holds together and the moisture is evenly distributed.
-
I press the dough firmly into the prepared pan and bake for 20 minutes, until the top is just lightly golden.
-
While the crust is baking, I prepare the filling. In a medium bowl, I lightly beat the eggs, then stir in the brown sugar, corn syrup, melted butter, vanilla, and chopped pecans until well combined.
-
I pour the pecan filling over the hot crust as soon as it comes out of the oven.
-
I return the pan to the oven and bake for another 20 minutes, or until the filling is set and doesn’t jiggle when the pan is gently shaken.
-
I let the bars cool completely in the pan before slicing them into squares.
Servings and timing
This recipe makes about 15 bars. It takes 30 minutes to prepare and 40 minutes to bake, for a total of 1 hour and 10 minutes. Each bar contains roughly 421 calories, making it a rich, satisfying dessert that’s perfect for a special occasion.
Variations
I sometimes mix in a handful of chocolate chips or drizzle melted chocolate over the top for a sweet twist. For a touch of spice, I’ve added a pinch of cinnamon or nutmeg to the filling. If I want a salted version, I sprinkle a little flaky sea salt over the top before baking. I’ve also tried this with chopped walnuts or a mix of nuts for variety.
Storage/Reheating
I store these bars in an airtight container either at room temperature or in the refrigerator for 3 to 4 days. They’re easier to slice when cold, so I sometimes chill them for 20 minutes before cutting. I personally love eating them cold, but I can also warm them briefly in the microwave if I want that gooey texture again. These bars also freeze well—just wrap them tightly and freeze for up to 2 months.
FAQs
Can I make these pecan pie bars ahead of time?
Yes, I often make them a day or two in advance. They store well and are even easier to slice once chilled.
Do I have to use corn syrup?
Corn syrup gives the filling its classic gooey texture. If I want a substitute, I use maple syrup or honey, but the texture will be slightly different.
Can I use unsalted butter?
Yes, I’ve made these with unsalted butter and added an extra pinch of salt to balance the sweetness.
Why is my filling runny?
If the filling jiggles too much after baking, it likely needs a few more minutes in the oven. I bake until it no longer moves in the center when gently shaken.
Can I freeze pecan pie bars?
Absolutely. I cut them into bars, wrap them in parchment and plastic wrap, and freeze them for up to 2 months. Thaw in the fridge before serving.
Conclusion
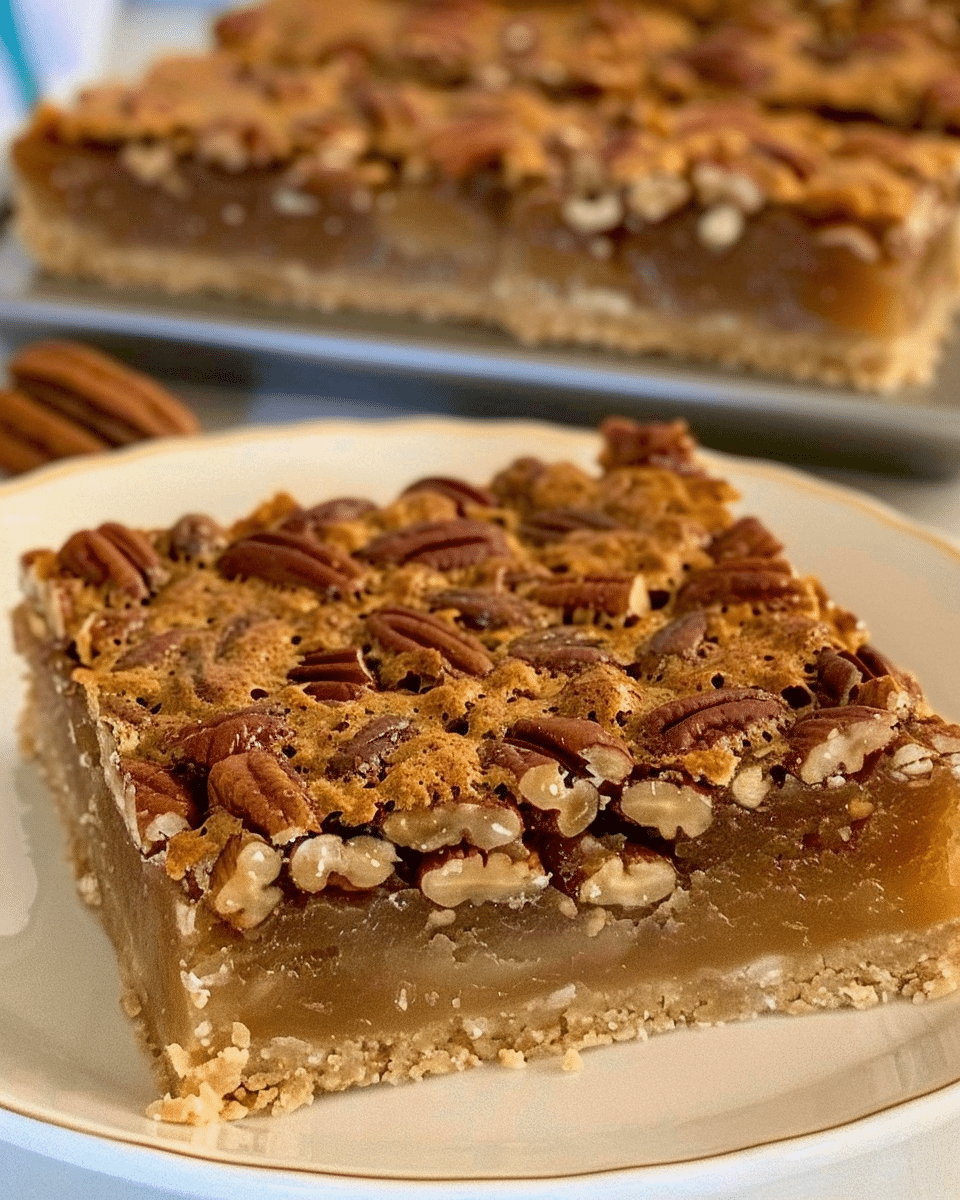
These Pecan Pie Bars are one of my favorite ways to enjoy the classic flavors of pecan pie without all the work. With a tender crust and gooey filling packed with pecans, they’re rich, satisfying, and perfect for the holiday season. I love how easy they are to prepare, slice, and share—and they’re always a hit at every table.
Pecan Pie Bars
5 Stars 4 Stars 3 Stars 2 Stars 1 Star
No reviews
These pecan pie bars feature a buttery shortbread crust and a gooey pecan filling. Perfect for Thanksgiving desserts, holiday parties, and fall baking ideas.
- Author: Emma
- Prep Time: 30 minutes
- Cook Time: 40 minutes
- Total Time: 1 hour 10 minutes
- Yield: 15 bars
- Category: Dessert, Holiday, Bars
- Method: Baking
- Cuisine: American, Southern
- Diet: Vegetarian
Ingredients
For the crust:
2 cups all-purpose flour
½ cup granulated sugar
¼ teaspoon salt
¾ cup butter (cold, cut into tablespoon-sized pieces)
4 tablespoons milk
For the pecan filling:
4 large eggs
¾ cup packed light brown sugar
1 cup light corn syrup
4 tablespoons butter, melted
2 teaspoons vanilla extract
2 cups chopped pecans
Instructions
Preheat oven: to 350°F (175°C). Grease a 9×13-inch baking pan and set aside.
Make crust: In a bowl, stir together flour, sugar, and salt. Cut in cold butter with a fork or pastry cutter until mixture resembles coarse crumbs.
Add milk: Stir in milk with a fork, then use your hands to evenly distribute moisture and form a dough.
Bake crust: Press dough into the prepared pan. Bake for 20 minutes until lightly golden.
Make pecan filling: While crust bakes, whisk eggs in a bowl. Stir in brown sugar, corn syrup, melted butter, vanilla, and chopped pecans until well combined.
Top crust: Pour pecan mixture over the hot baked crust.
Bake again: Return to oven and bake for 20–25 minutes, or until the filling is set and doesn’t jiggle when the pan is moved.
Cool and slice: Let bars cool completely before slicing. For cleaner cuts, refrigerate for 20 minutes before slicing into bars.
Notes
Bars slice more cleanly when chilled — pop them in the fridge for 20 minutes before cutting.
Store in an airtight container at room temperature or refrigerated for up to 3–4 days.
Great for make-ahead holiday desserts — flavors deepen as they sit!
Try using toasted pecans for extra flavor.

