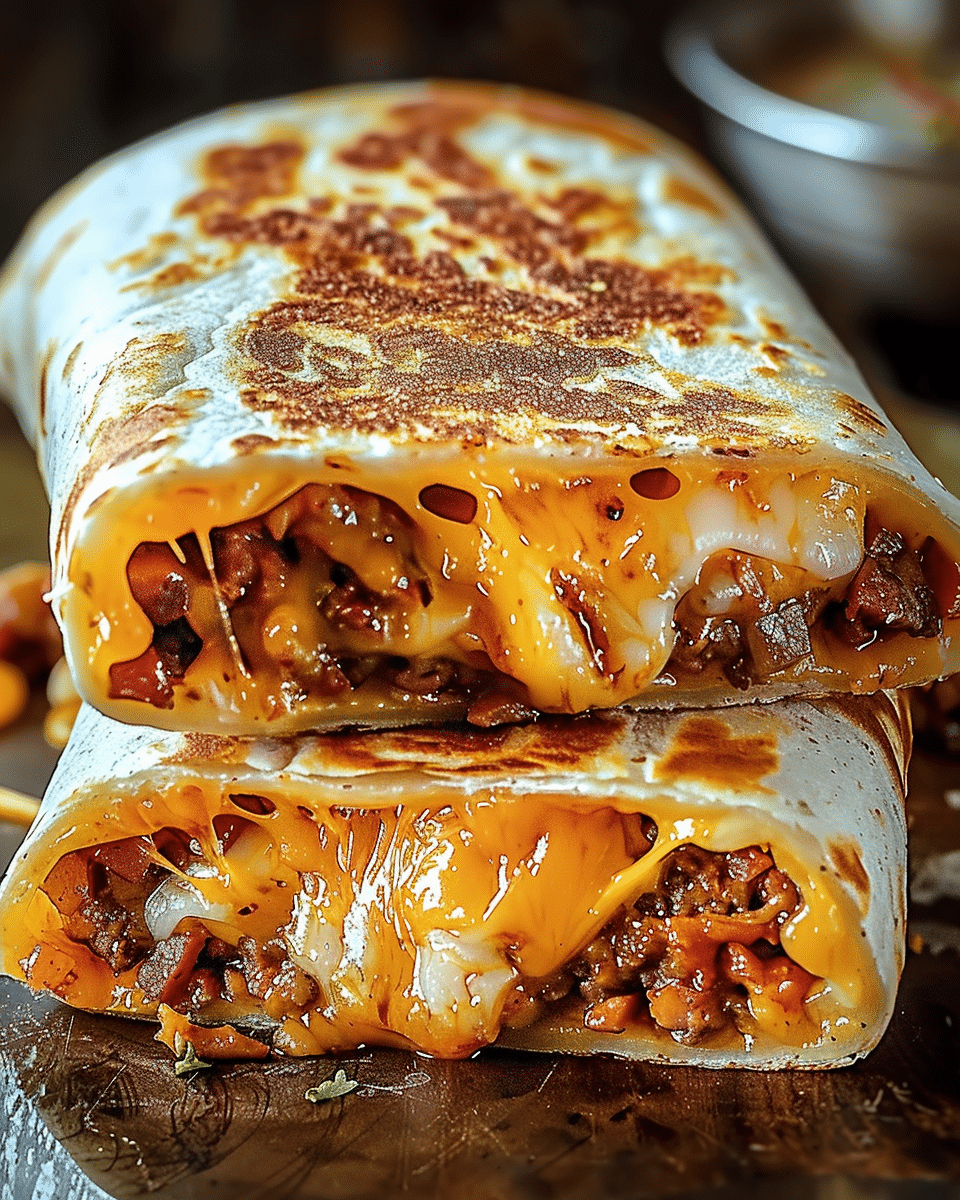
I love this recipe because it brings together everything I enjoy in one dish—savory meat, creamy sauces, and plenty of melted cheese. The grilled exterior adds a golden, slightly crispy finish that makes it even more satisfying.
I also like how customizable it is. I can easily swap ingredients to suit my preferences, whether I want it spicier, lighter, or even plant-based. It is a great option for both quick dinners and indulgent cravings.
Ingredients
(Here’s a tip: Check out the full list of ingredients and measurements in the recipe card below.)
1 pound ground beef 1 packet taco seasoning 2 cups cooked white rice 1 cup sour cream 1 cup nacho cheese sauce 1 cup shredded cheddar cheese 1 cup shredded mozzarella cheese 1 tablespoon chipotle sauce 4 large flour tortillas 2 tablespoons butter or oil
Directions
I start by cooking the ground beef in a skillet over medium heat for about 8 to 10 minutes until it is fully browned. I drain any excess grease, then add the taco seasoning and a splash of water. I let it simmer for about 5 minutes so the flavors come together.
Next, I warm the tortillas in a dry skillet or microwave for about 20 seconds. I keep them covered so they stay soft and easy to fold.
To assemble, I lay each tortilla flat and add a layer of cooked rice, followed by the seasoned beef. Then I drizzle nacho cheese sauce, add sour cream, and a bit of chipotle sauce for extra flavor. I finish with a generous amount of shredded cheddar and mozzarella.
I fold the burrito tightly, making sure all the filling is sealed inside.
I heat a skillet over medium heat and add butter or oil. I place the burrito seam-side down and grill it for about 3 to 4 minutes until golden brown. Then I flip it and cook the other side for another 3 to 4 minutes until crispy and the cheese inside is melted.
I remove it from the skillet, let it rest briefly, then slice and serve.
Servings and timing
I get about 4 servings from this recipe, which makes it perfect for a family meal or sharing.
I usually need around 30 minutes from start to finish, making it a great option when I want something filling without spending too much time cooking.
Variations
I like to switch things up depending on what I have. Sometimes I use ground turkey or a plant-based alternative instead of beef.
I also enjoy adding extras like beans, corn, or diced tomatoes for more texture and flavor. For a spicier version, I increase the chipotle sauce or add jalapeños.
When I want a lighter option, I use less cheese or substitute with lower-fat versions. I can also use brown rice or quinoa instead of white rice.
storage/reheating
I store leftover burritos in an airtight container in the refrigerator for up to 3 days. I wrap them individually so they stay fresh.
To reheat, I warm them in a skillet over medium heat to bring back the crispy texture. I can also use the oven for even heating. I avoid the microwave when possible because it can make the tortilla soft.
FAQs
Can I make these burritos ahead of time?
I can assemble them ahead and store them in the refrigerator. I grill them fresh when I am ready to eat for the best texture.
What can I use instead of nacho cheese sauce?
I can use regular melted cheese, queso, or even a homemade cheese sauce as a substitute.
How do I keep the burrito from falling apart?
I make sure not to overfill it and fold it tightly. Placing it seam-side down first also helps seal it while cooking.
Can I freeze these burritos?
I can freeze them before grilling. When I want to eat them, I thaw and then grill them for the best results.
What should I serve with this burrito?
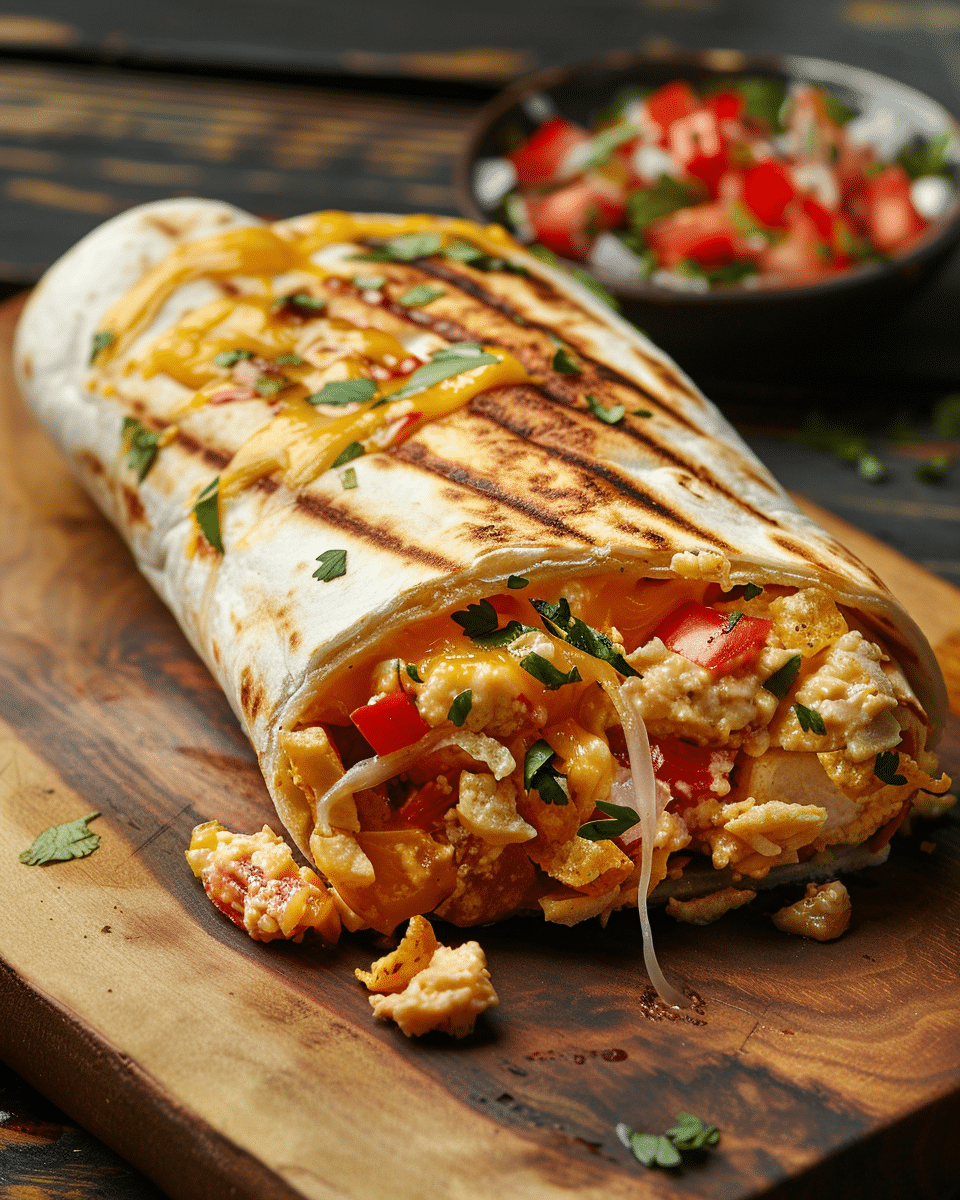
I like serving it with guacamole, salsa, or extra chipotle sauce for dipping.
Conclusion
I love how this grilled cheese burrito turns simple ingredients into a rich and satisfying meal. It is cheesy, flavorful, and easy to customize, making it a go-to recipe whenever I want something comforting and filling.
Loaded Irresistible Easy Grilled Cheese Burrito You’ll Crave Again with seasoned beef, melty cheese, and creamy sauces wrapped in a crispy golden tortilla.
1 cup sour cream (or yogurt/dairy-free alternative)
1 cup nacho cheese sauce
1 cup shredded cheddar cheese
1 cup shredded mozzarella cheese
1 tablespoon chipotle sauce (adjust to taste)
4 large flour tortillas (or whole wheat/gluten-free)
2 tablespoons butter or oil
Instructions
Cook the Beef:
In a skillet over medium heat, cook ground beef for 8–10 minutes until browned. Drain excess grease. Add taco seasoning and a splash of water, then simmer for 5 minutes.
Warm the Tortillas:
Heat tortillas in a dry skillet or microwave for about 20 seconds. Keep covered to stay soft and pliable.
Assemble the Burritos:
On each tortilla, layer rice, seasoned beef, nacho cheese sauce, sour cream, and chipotle sauce. Sprinkle shredded cheddar and mozzarella on top.
Wrap the Burritos:
Fold in the sides, then roll tightly into a burrito.
Grill the Burritos:
Heat butter or oil in a skillet over medium heat. Place burritos seam-side down and grill for 3–4 minutes until golden and crispy. Flip and cook another 3–4 minutes.
Serve:
Let cool slightly, slice in half, and serve with extra chipotle sauce or guacamole.
Notes
Don’t overfill to prevent tearing while rolling.
Use a non-stick pan for even crisping.
Add beans, corn, or veggies for extra texture and nutrition.
Adjust spice level by adding more or less chipotle sauce.


