
I am absolutely thrilled to share this Coffee Brownies Recipe with you because it perfectly combines the rich, fudgy texture of homemade brownies with a creamy coffee frosting that adds a wonderful depth of flavor. Whenever I make these, I find they satisfy both my chocolate cravings and my love for coffee in the most delicious way. They’re indulgent, comforting, and a little bit fancy—ideal for anytime I want to treat myself or impress friends and family. Let me take you through why these brownies have become one of my all-time favorites.
Why You’ll Love This Coffee Brownies Recipe
What sets this Coffee Brownies Recipe apart for me is the balance of strong chocolate goodness with just the right kick of coffee flavor in the frosting. The brownies themselves are rich and fudge-like but not overly dense, offering that perfect moist crumb I always hope for. Then, topping it all with a silky coffee cream frosting elevates the whole experience to a new level. I love that the coffee flavor is prominent without overpowering the chocolate—it’s that subtle nuance that keeps me coming back for more.
Beyond taste, I appreciate how simple these brownies are to prepare. The ingredients are pantry staples, and the process feels straightforward, even for a casual baker like me. Plus, they bake up beautifully in just over half an hour, making it easy to whip up something special on a weeknight or for a weekend gathering. I find these brownies are perfect for so many occasions, whether it’s a cozy family dessert, a potluck favorite, or just a little indulgence with my afternoon coffee. They truly stand out as a versatile treat that’s as impressive as it is approachable.
Ingredients You’ll Need
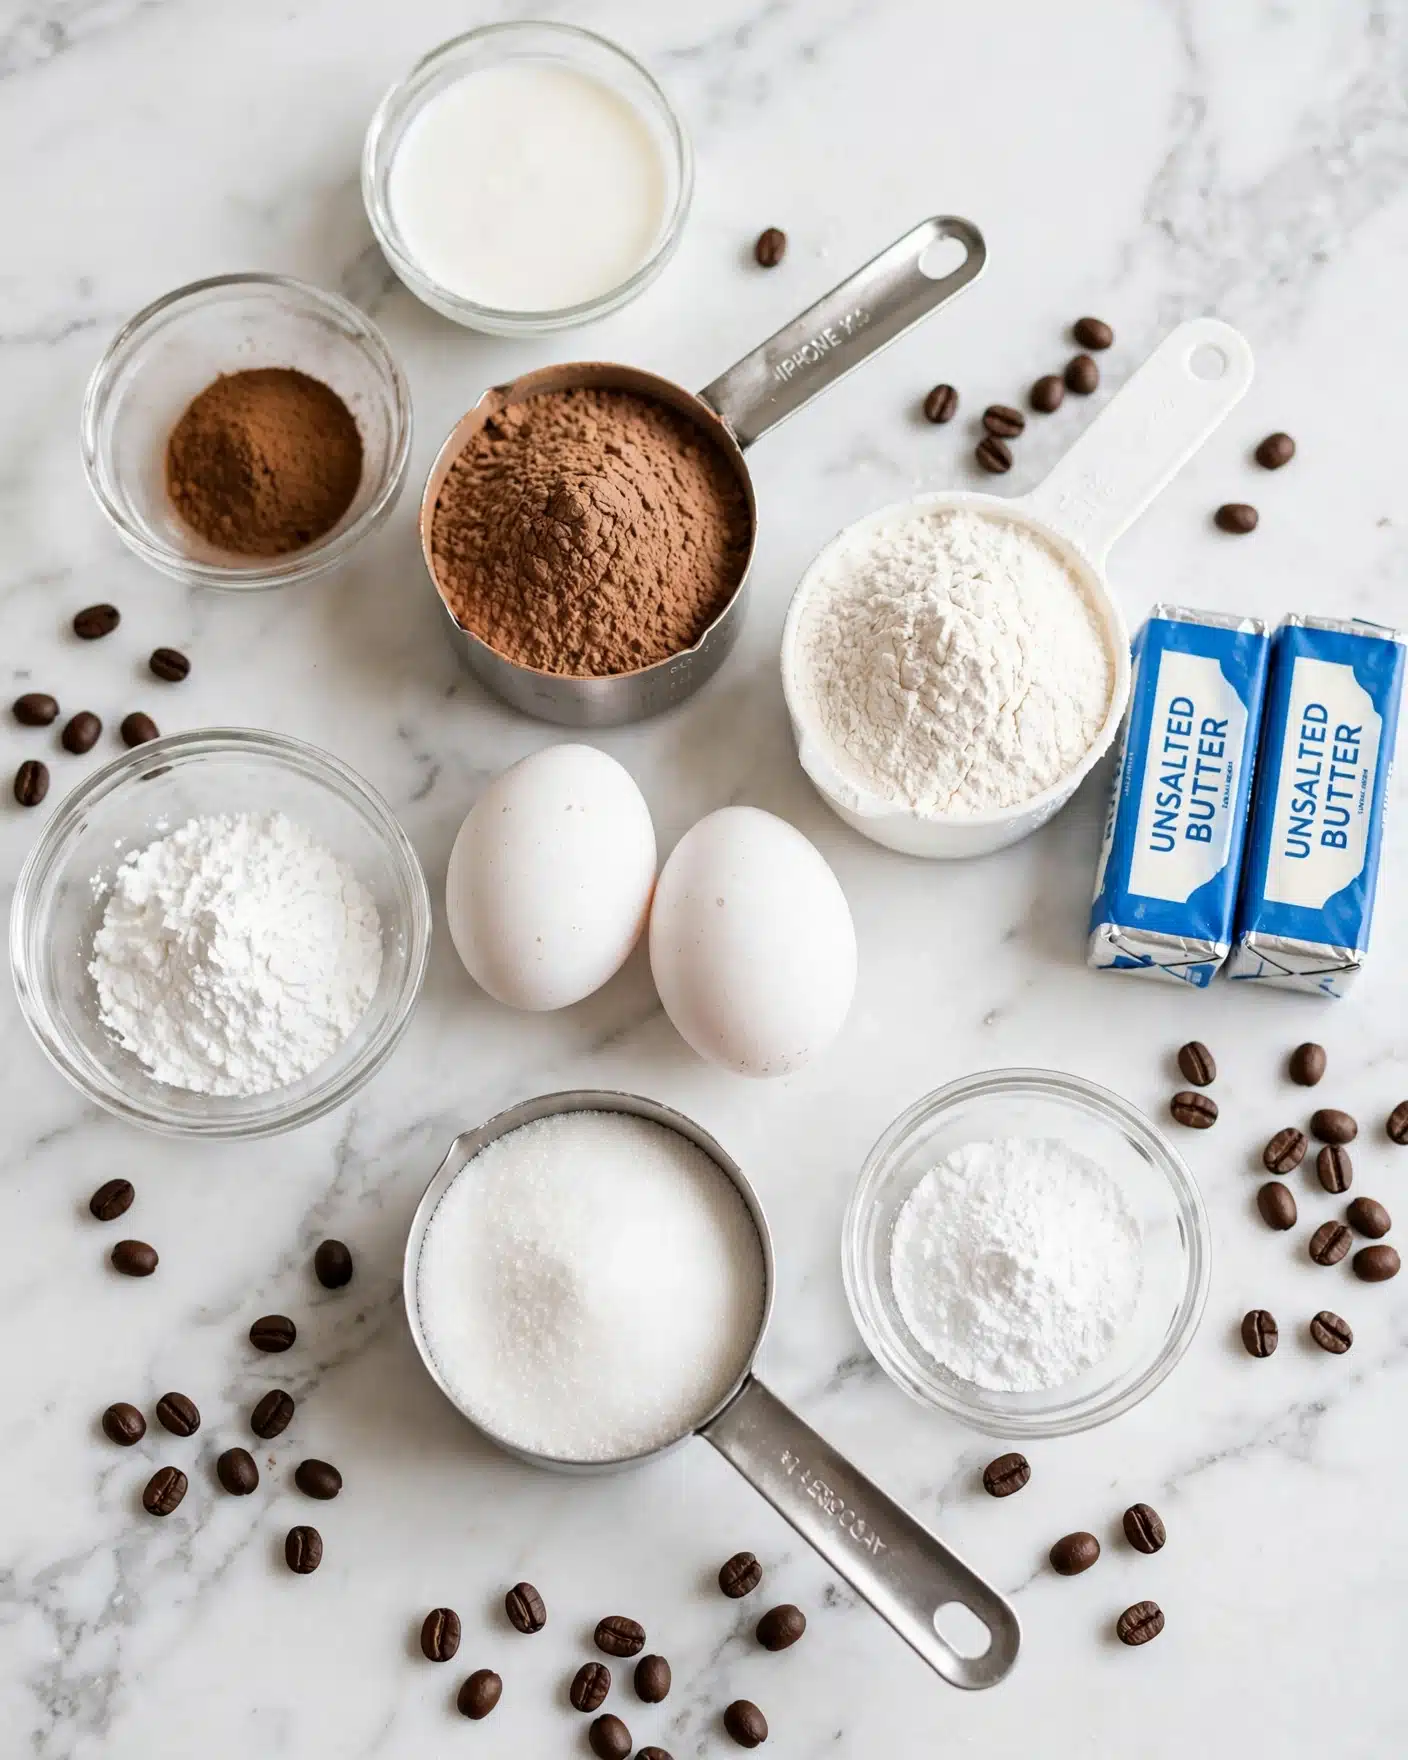
All the ingredients in this recipe are simple yet essential to create the rich texture, deep flavor, and beautiful color of these coffee brownies. Each component plays a key role, whether it’s the cocoa powder providing chocolate intensity or the coffee granules adding that aromatic twist to the frosting.
- 1 stick unsalted butter: I always use unsalted butter to control the salt level and because it melts smoothly into the batter.
- 1 cup granulated sugar: This sweetens the brownies perfectly, helping to create a moist texture.
- 2 large eggs: Eggs help bind everything together and add richness to the brownies.
- 1 tsp vanilla extract: This boosts all the flavors and adds a warm aroma.
- 1/3 cup unsweetened cocoa powder: Essential for deep chocolate flavor without adding sweetness.
- 1/2 cup all-purpose flour: Provides structure to the brownies without making them cakey.
- 1/4 tsp salt: Balances flavors and enhances the chocolate notes.
- 1/4 tsp baking powder: Gives a slight lift so the brownies aren’t too dense.
- 1.5 tsp instant coffee granules: This is the secret to the frosting’s bold coffee flavor.
- 2-4 tbsp heavy whipping cream: Adds creaminess and helps achieve that perfect frosting spreadability.
- 1/3 cup unsalted butter (for frosting): I cream this until fluffy to create a luscious base for the frosting.
- 2 cups powdered sugar: Sweetens and thickens the frosting for that irresistible finish.
Directions
Step 1: Preheat your oven to 350 degrees Fahrenheit and prepare an 8-inch baking dish by spraying it with non-stick spray or lining it with parchment paper and then spraying the paper. This ensures your brownies won’t stick and will come out perfectly.
Step 2: Melt the stick of unsalted butter in a microwave-safe bowl. I usually do this in 20-second bursts, stirring in between, until completely melted but not overheated.
Step 3: In a large bowl, combine the melted butter with the granulated sugar, eggs, and vanilla extract. Stir these together until smooth and well mixed. This is the base that will hold all our flavors.
Step 4: Add in the unsweetened cocoa powder, all-purpose flour, salt, and baking powder. Stir gently until just combined—you want to avoid overmixing to keep the brownies nice and tender.
Step 5: Pour the batter into your prepared pan and spread it out evenly with a spatula. Bake for 30 to 35 minutes, checking with a toothpick in the center—if it comes out with just a few moist crumbs, they are perfect!
Step 6: Allow the brownies to cool completely in the pan before frosting. This cooling stage is key to avoid melting the frosting and keeps it looking smooth and gorgeous.
Step 7: To make the frosting, dissolve the instant coffee granules in 2 tablespoons of heavy whipping cream, stirring until fully blended. Set this mixture aside.
Step 8: In a large bowl, beat the butter until it’s light and fluffy—this usually takes about 3 to 4 minutes with an electric mixer. Then, gradually add the powdered sugar while continuing to beat, making sure each addition is fully incorporated.
Step 9: Slowly add 2 tablespoons of your coffee and cream mixture into the butter and sugar, mixing well. Add more cream, one tablespoon at a time, until the frosting reaches your desired spreading consistency—it should be smooth and creamy without being runny.
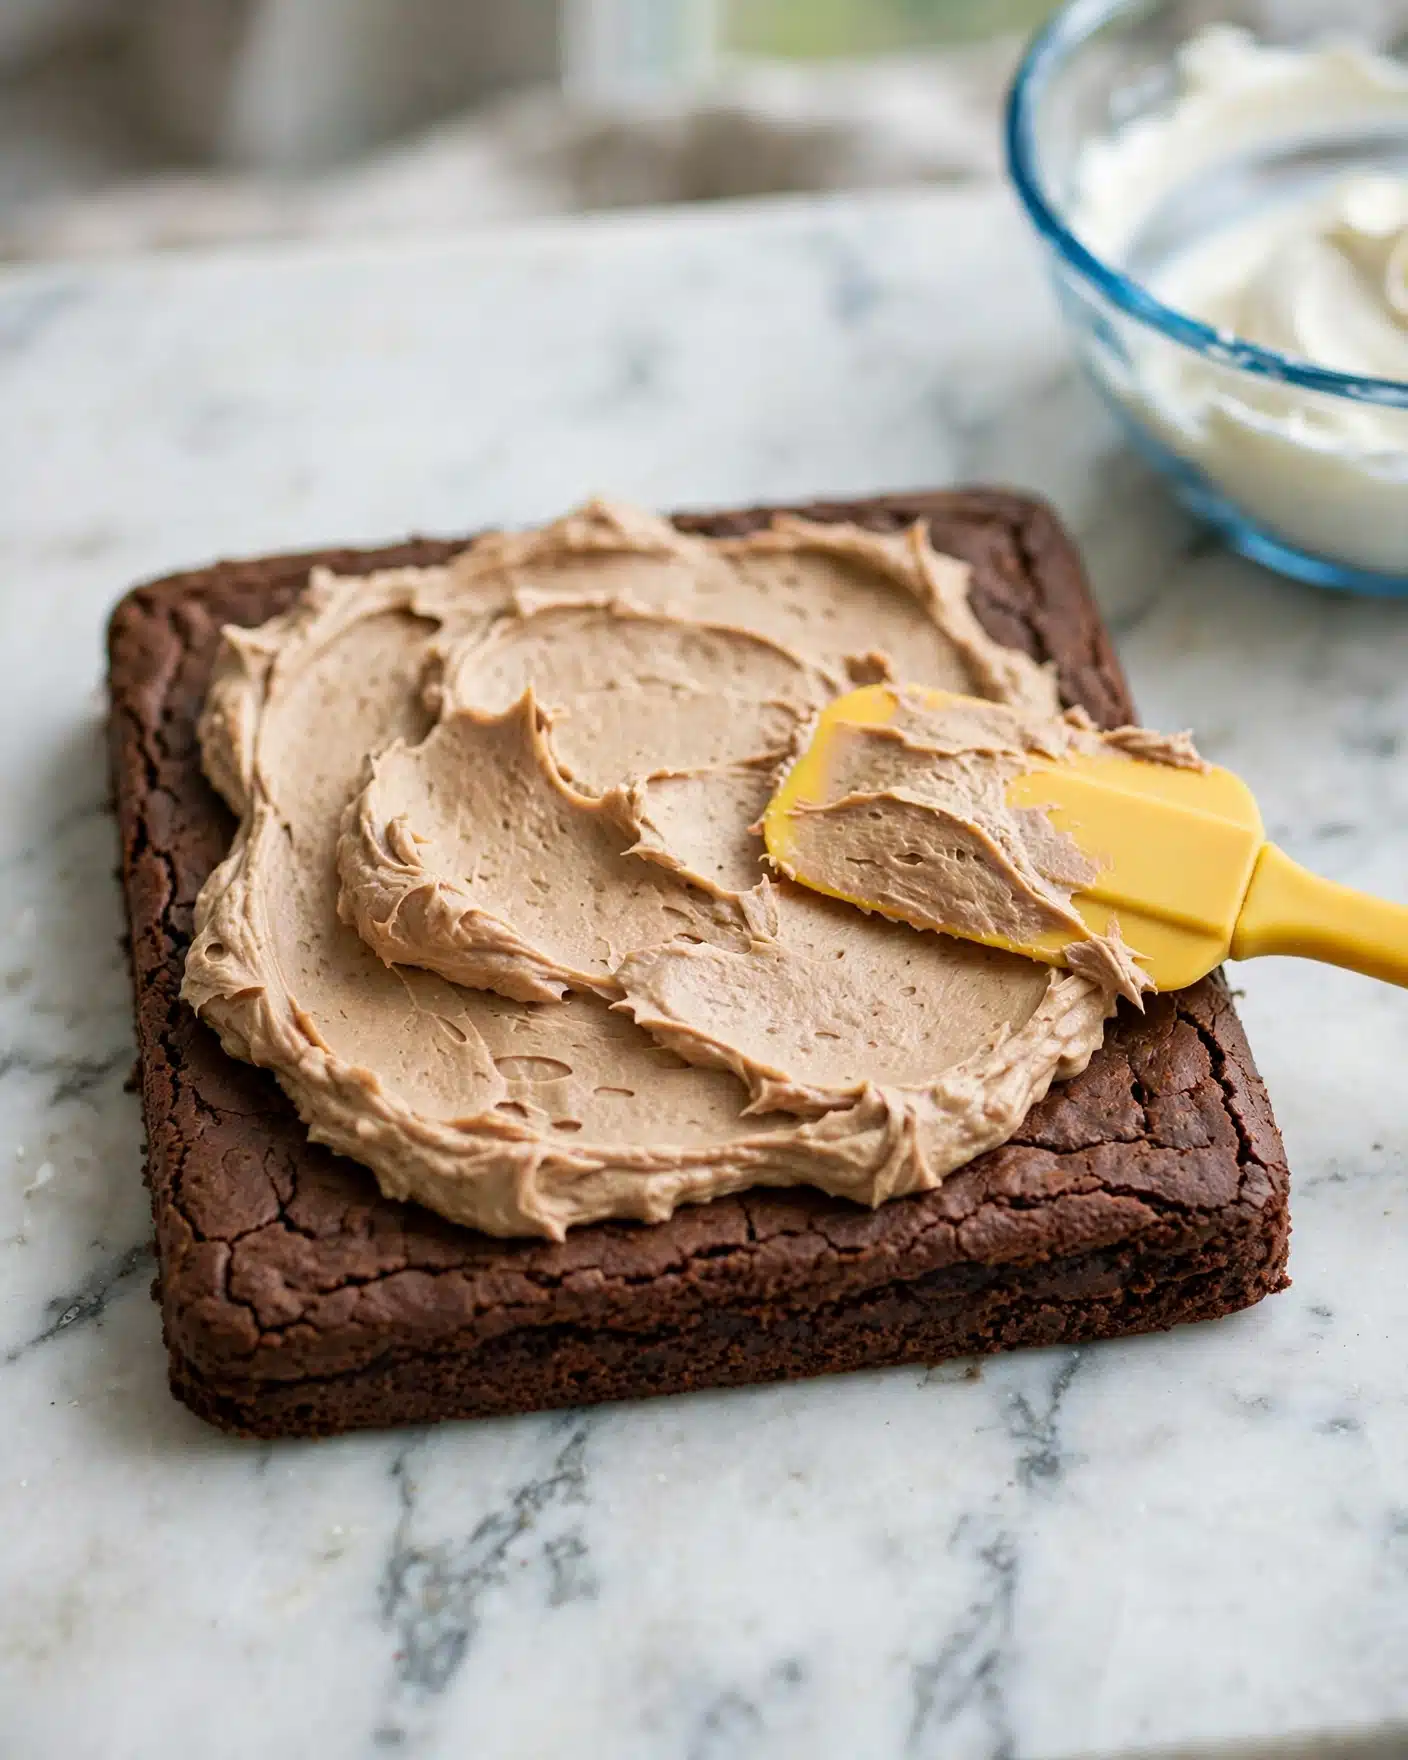
Step 10: Spread the coffee frosting evenly over the cooled brownies, slice into 16 pieces, and enjoy every bite of this decadent treat!
Servings and Timing
This Coffee Brownies Recipe makes about 16 generous servings, perfect for sharing with a crowd or saving a few for later. The prep time is roughly 20 minutes, which includes mixing the batter and making the frosting. Baking takes about 35 minutes, so you’re looking at 55 minutes total from start to finish. Don’t forget to allow some cooling time before frosting—ideally 20 to 30 minutes—to get that perfect texture.
How to Serve This Coffee Brownies Recipe
I love serving these coffee brownies slightly chilled or at room temperature. The frosting is just firmer and more pleasurable to bite into when the brownies aren’t too warm. For presentation, I often slice them into neat squares and line them up on a simple white platter to really let the rich brown color shine.
When it comes to accompaniments, a scoop of vanilla ice cream or a dollop of freshly whipped cream pairs beautifully, balancing the intense chocolate and coffee notes with something cool and creamy. I also enjoy serving these brownies alongside a hot cup of coffee or a latte, which enhances the mocha flavors and makes for a cozy treat perfect for a relaxing afternoon or a casual get-together.
For more festive occasions, I sometimes sprinkle a bit of finely grated dark chocolate or even a few coffee beans on top for a decorative touch. These brownies work wonderfully for family dinners, holiday parties, or even as a sweet pick-me-up on a busy weeknight. No matter the setting, they’re easy to portion out so everyone can enjoy a perfectly sized treat.
Variations
Over time, I’ve experimented with this Coffee Brownies Recipe to make it my own or to fit different dietary needs. For example, if you want to make it gluten-free, swapping the all-purpose flour for a 1-to-1 gluten-free baking flour works beautifully without compromising texture. If you’re vegan, you can substitute the butter with a plant-based alternative and use flax eggs in place of regular eggs—I recommend adding a little extra vanilla to enhance flavor in vegan versions.
I also enjoy playing with the frosting flavors. Sometimes I add a pinch of cinnamon or nutmeg to the coffee frosting for a warm spice note that’s perfect in fall. For an extra mocha punch, folding in mini chocolate chips into the brownie batter adds delightful bursts of melted chocolate. Another variation I’ve tried is using espresso powder instead of instant coffee granules to intensify the coffee flavor even further.
If you’re short on time, you can make the brownies in muffin tins for quick individual servings. Just reduce baking time to about 20 minutes and keep an eye on them. Whichever variation you choose, this recipe is flexible and always delivers that magical combo of coffee and chocolate that keeps me excited to bake it again and again.
Storage and Reheating
Storing Leftovers
To store any leftover coffee brownies, I place them in an airtight container at room temperature if I plan to eat them within 2 days. For longer freshness, refrigeration works well—just be sure to bring brownies to room temperature before serving so the frosting isn’t too firm. I find cookies containers or glass storage boxes with tight lids are perfect for keeping moisture in and preventing them from drying out.
Freezing
These coffee brownies freeze wonderfully, which is great if you want to prep ahead or save some for a later treat. I recommend slicing them into individual squares, wrapping each piece tightly in plastic wrap, then placing them all in a freezer-safe container or zip-top bag. They will keep well for up to 3 months in the freezer without losing flavor or texture.
Reheating
When you’re ready to enjoy frozen brownies, let them thaw at room temperature for a couple of hours. If you prefer warm brownies, gently microwave a piece for about 10 seconds, but be careful not to overheat or the frosting might melt too much and get messy. Avoid reheating in the oven as it can dry out the brownies. I like to add a quick dusting of powdered sugar or a fresh swirl of whipped cream after reheating to refresh their presentation.
FAQs
Can I use brewed coffee instead of instant coffee granules in the frosting?
I don’t recommend using brewed coffee directly because it’s too liquid and can make the frosting runny. Instant coffee granules dissolve completely and provide concentrated flavor without altering the texture. However, you could dissolve instant coffee granules in a small amount of brewed coffee for a richer flavor if you want to experiment.
How do I know when the brownies are done baking?
The best way is to insert a toothpick in the center after 30 minutes. If it comes out with a few moist crumbs but not wet batter, they’re ready. The brownies will continue to set as they cool, so it’s okay if they seem slightly underdone in the middle when you take them out of the oven.
Can I make the frosting ahead of time?
Yes! You can prepare the coffee frosting a day ahead and store it in an airtight container in the fridge. Before spreading on the brownies, bring it to room temperature and beat it briefly to restore its fluffy texture. This makes your baking day even easier.
What if I don’t have heavy whipping cream for the frosting?
If you don’t have heavy cream, you can substitute with whole milk or half-and-half, but the frosting might be slightly less rich and creamy. Adding the liquid slowly and adjusting the amount will help you reach the right consistency.
Is it possible to make these brownies nut-free?
Absolutely! This recipe is naturally nut-free unless you add nuts yourself. To keep it safe for nut allergies, just be sure the cocoa powder and other ingredients you use haven’t been processed in facilities that handle nuts, or buy certified nut-free products.
Conclusion
I genuinely hope you give this Coffee Brownies Recipe a try because it’s one of those desserts that feels like a cozy hug on a plate. It’s effortlessly indulgent with layers of flavor that surprise and delight every time. Whether you’re a coffee lover, a chocolate fan, or both, these brownies deliver a special treat you’ll want to make again and again. Happy baking and even happier eating!
PrintCoffee Brownies Recipe
This recipe for Coffee Brownies features rich homemade fudge brownies topped with a creamy coffee-infused frosting. Perfectly combining the deep flavors of chocolate and bold coffee, these brownies are an ideal treat for dessert or a midday snack. The fudgy texture and smooth frosting make each bite irresistible.
- Prep Time: 20 minutes
- Cook Time: 35 minutes
- Total Time: 55 minutes
- Yield: 16 servings
- Category: Dessert
- Method: Baking
- Cuisine: American
Ingredients
Brownies
- 1 stick unsalted butter
- 1 cup granulated sugar
- 2 large eggs
- 1 tsp vanilla extract
- 1/3 cup unsweetened cocoa powder
- 1/2 cup all-purpose flour
- 1/4 tsp salt
- 1/4 tsp baking powder
Frosting
- 1.5 tsp instant coffee granules
- 2–4 tbsp heavy whipping cream
- 1/3 cup unsalted butter
- 2 cups powdered sugar
Instructions
- Preheat Oven and Prepare Pan: Preheat the oven to 350°F (175°C) and prepare an 8-inch baking dish by spraying it with non-stick spray or lining it with parchment paper and spraying.
- Melt Butter: In a microwave-safe bowl, melt 1 stick of unsalted butter until fully liquid.
- Mix Brownie Batter: In a large bowl, combine the melted butter, 1 cup granulated sugar, 2 large eggs, 1 tsp vanilla extract, 1/3 cup unsweetened cocoa powder, 1/2 cup all-purpose flour, 1/4 tsp salt, and 1/4 tsp baking powder. Stir until the batter is smooth and fully incorporated.
- Bake Brownies: Pour the batter evenly into the prepared baking dish. Bake in the preheated oven for 30-35 minutes or until a toothpick inserted into the center comes out with moist crumbs but not wet batter.
- Cool Brownies: Remove the brownies from the oven and allow them to cool completely in the pan before frosting.
- Prepare Coffee Cream: Mix 1.5 tsp instant coffee granules into 2-4 tablespoons of heavy whipping cream until dissolved; set aside.
- Make Frosting: In a large bowl, beat 1/3 cup unsalted butter until light and fluffy. Gradually add 2 cups powdered sugar, mixing continuously. Slowly add 2 tablespoons of the coffee cream mixture and beat well; continue adding cream 1 tablespoon at a time until the frosting reaches the desired consistency.
- Frost and Serve: Spread the coffee frosting evenly over the cooled brownies. Slice into 16 squares and serve immediately or store in an airtight container.
Notes
- For best results, allow brownies to cool completely before frosting to prevent melting.
- You can adjust the coffee intensity by adding more or less instant coffee to the cream mixture according to taste.
- Store frosted brownies in an airtight container at room temperature for up to 3 days or freeze for longer storage.
- Using parchment paper makes it easy to lift brownies from the pan for clean slicing.


