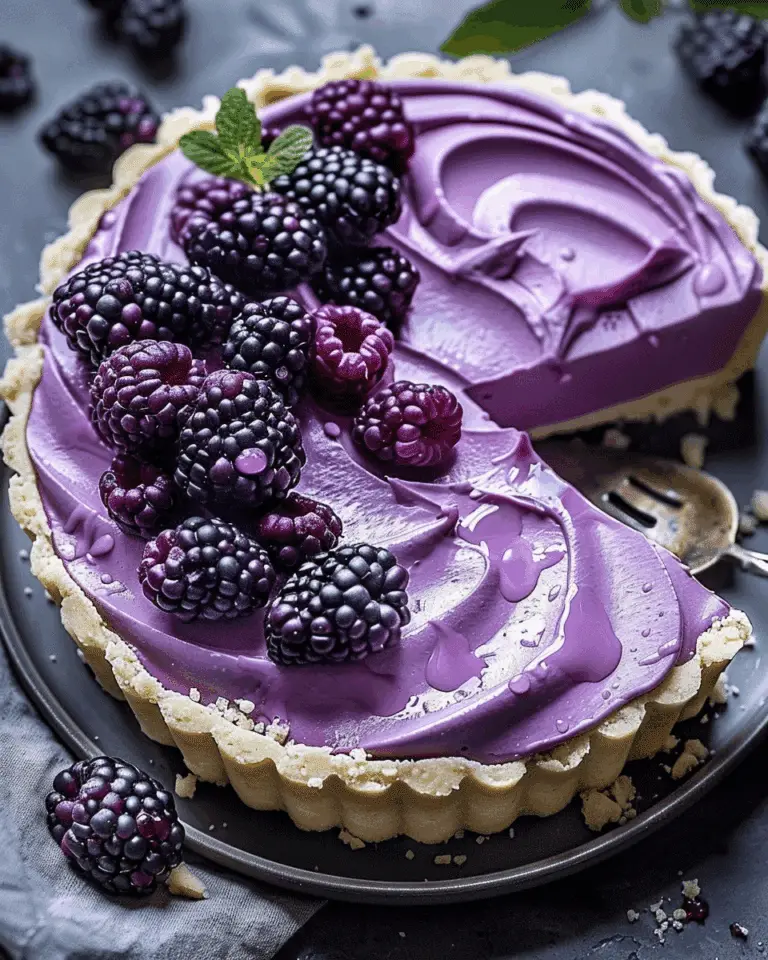
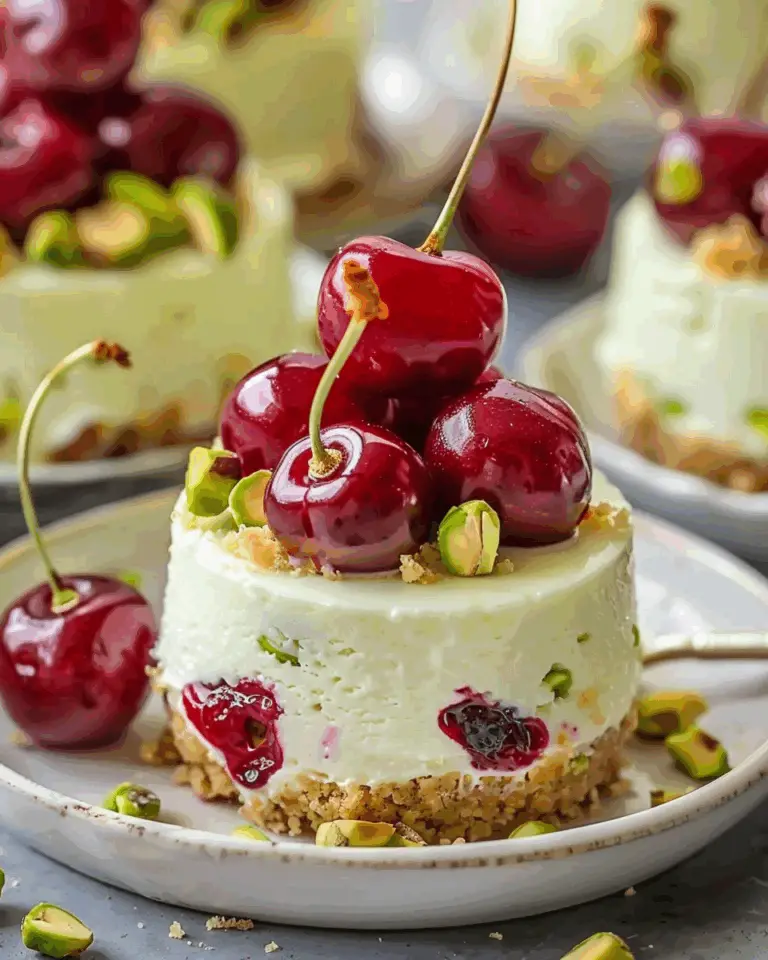
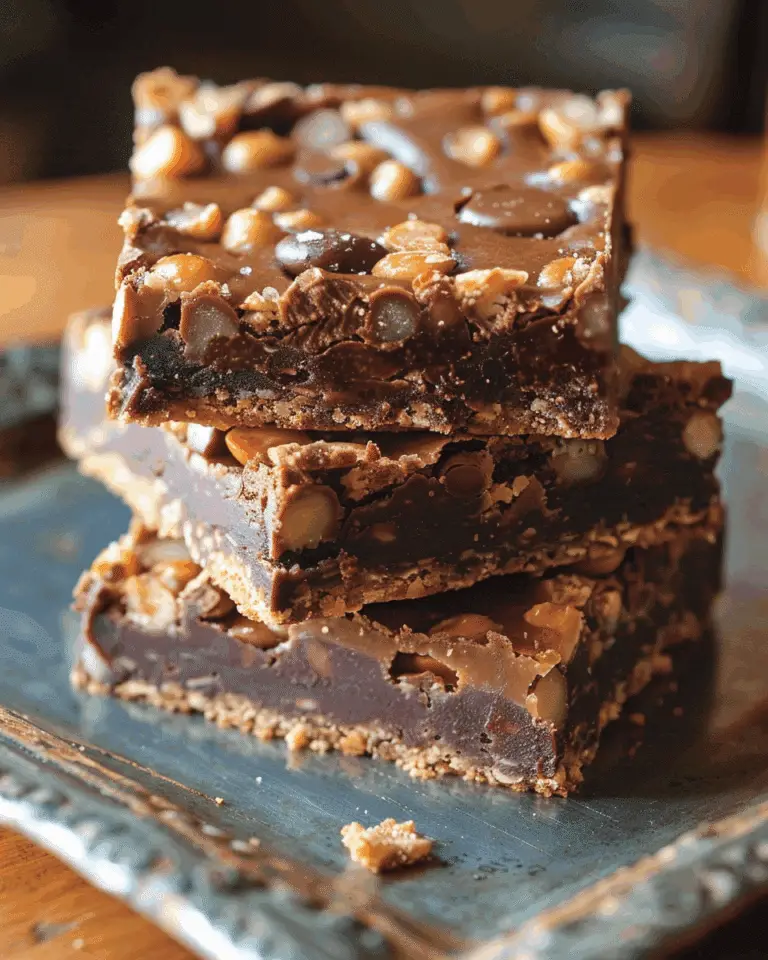
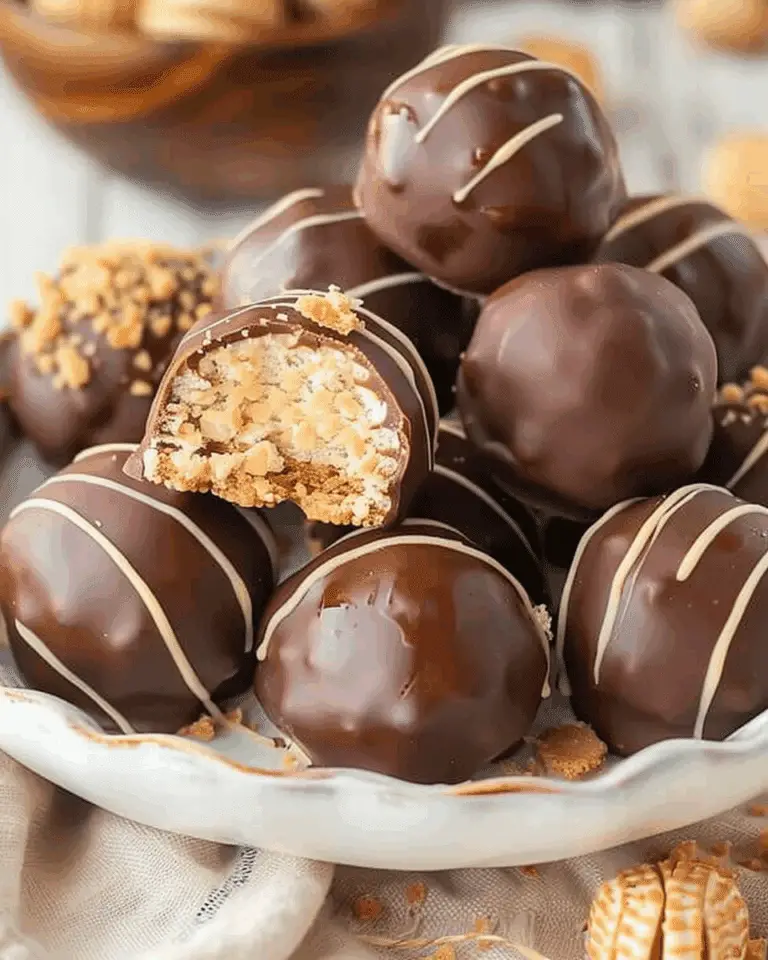
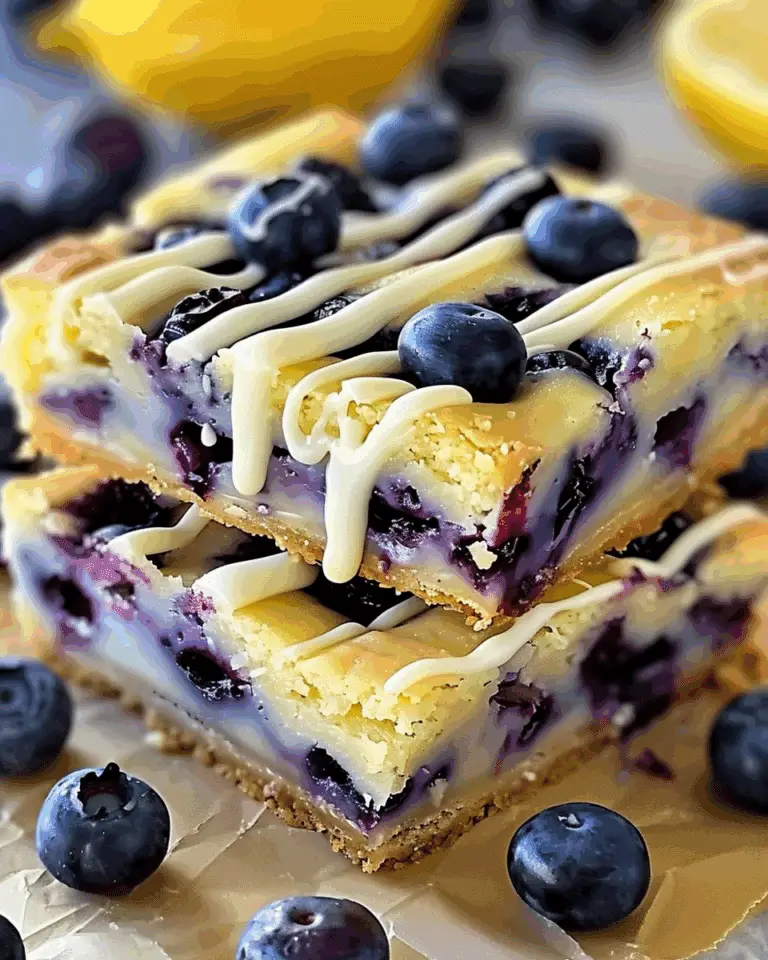
Chocolate Coated Ice Cream is a rich, creamy dessert that combines smooth ice cream with a crisp chocolate shell that cracks with every bite. Whether I’m dipping scoops into melted chocolate or making homemade ice cream bars, the contrast of cold, creamy ice cream and warm, glossy chocolate is completely irresistible.
Why You’ll Love This Recipe
I love this recipe because it’s simple, customizable, and turns regular ice cream into something truly special. That satisfying chocolate crunch over the creamy center reminds me of childhood treats but with better ingredients and more flavor control. Plus, I can use any ice cream flavor I love and dress it up with toppings if I’m feeling creative.
ingredients
(Here’s a tip: Check out the full list of ingredients and measurements in the recipe card below.)
ice cream (any flavor, store-bought or homemade)
semi-sweet or dark chocolate chips (or chopped chocolate)
coconut oil or neutral oil (for thinning and hardening the chocolate shell)
optional toppings: crushed nuts, sprinkles, shredded coconut, crushed cookies
directions
-
I scoop or mold the ice cream into desired shapes (scoops or bars), then freeze them until very firm—at least 1 hour.
-
I melt the chocolate and coconut oil together in a heatproof bowl in the microwave or over a double boiler, stirring until smooth and glossy.
-
I let the chocolate cool slightly (but not harden) so it doesn’t melt the ice cream too fast when dipping.
-
I dip each scoop or bar into the chocolate, using a spoon to coat if needed, and immediately add any toppings before the chocolate sets.
-
I place the coated ice cream on a parchment-lined tray and freeze again for 10–15 minutes to fully harden the shell.
-
I serve immediately or store them in a sealed container in the freezer until ready to eat.
Servings and timing
This recipe makes 4–6 chocolate coated scoops or bars, depending on size. It takes about 20 minutes to prep, plus freezing time before and after dipping.
Variations
Sometimes I flavor the chocolate with a touch of espresso powder, peppermint extract, or a pinch of sea salt. I also switch up the chocolate—white chocolate, milk chocolate, or even ruby chocolate all work beautifully. For ice cream bars, I mold them in silicone molds with popsicle sticks before dipping. I love rolling them in chopped nuts or cookie crumbs for extra crunch.
storage/reheating
I store the coated ice cream in an airtight container in the freezer for up to 1 week. I layer parchment paper between pieces if I’m stacking them. There’s no reheating involved—just freeze and enjoy straight from the freezer.
FAQs
Why use coconut oil in the chocolate?
Coconut oil helps thin the chocolate and allows it to harden quickly when it hits the cold ice cream, creating that signature shell.
Can I use dairy-free ice cream?
Yes, I’ve made this with coconut, almond, and oat-based ice creams—it works great as long as the ice cream is frozen solid before dipping.
How do I keep the chocolate from sliding off?
I make sure the ice cream is very cold and firm. Letting the chocolate cool slightly before dipping also helps it stick better.
Can I re-dip the ice cream for a thicker shell?
Yes, I let the first layer harden, then dip again for a double-thick coating. It adds an extra crunch.
What kind of chocolate is best?
I prefer high-quality semi-sweet or dark chocolate for the best flavor, but any kind that melts smoothly will work.
Conclusion
Chocolate Coated Ice Cream is a fun and indulgent treat that’s surprisingly easy to make at home. Whether I’m recreating childhood favorites or experimenting with new flavors, this dessert always hits the mark. It’s perfect for summer, parties, or anytime I want that perfect crackly chocolate shell over creamy ice cream.
Chocolate Coated Ice Cream
5 Stars 4 Stars 3 Stars 2 Stars 1 Star
No reviews
Chocolate Coated Ice Cream is a simple yet indulgent dessert featuring scoops or bars of ice cream dipped in melted chocolate that forms a crisp shell. The rich, crackly coating perfectly contrasts the smooth, creamy interior for a nostalgic and customizable treat.
- Author: Emma
- Prep Time: 20 minutes
- Cook Time: 5 minutes
- Total Time: 1 hour 30 minutes (includes freezing)
- Yield: 4–6 servings
- Category: Dessert
- Method: No-Bake
- Cuisine: American
- Diet: Vegetarian
Ingredients
- 4–6 scoops or bars of ice cream (any flavor, store-bought or homemade)
- 1 1/2 cups semi-sweet or dark chocolate chips (or chopped chocolate)
- 2 tablespoons coconut oil or neutral oil
- Optional toppings: crushed nuts, sprinkles, shredded coconut, crushed cookies
Instructions
- Scoop or mold the ice cream into desired shapes and freeze until very firm, at least 1 hour.
- In a microwave-safe bowl or double boiler, melt the chocolate and coconut oil together, stirring until smooth and glossy.
- Allow the chocolate to cool slightly so it doesn’t melt the ice cream upon contact.
- Dip each ice cream scoop or bar into the chocolate, using a spoon to coat as needed. Immediately sprinkle with toppings if using.
- Place coated ice cream on a parchment-lined tray and freeze for 10–15 minutes to harden the shell.
- Serve immediately or transfer to a sealed container and keep frozen until ready to enjoy.
Notes
- Ensure ice cream is fully frozen to help chocolate shell adhere properly.
- Flavor the chocolate with extracts like peppermint or espresso powder for a twist.
- Use silicone molds and popsicle sticks to make homemade chocolate-dipped ice cream bars.
- Layer with parchment paper when storing multiple pieces to avoid sticking.
Nutrition
- Serving Size: 1 coated scoop/bar
- Calories: 290
- Sugar: 20g
- Sodium: 40mg
- Fat: 20g
- Saturated Fat: 13g
- Unsaturated Fat: 6g
- Trans Fat: 0g
- Carbohydrates: 25g
- Fiber: 2g
- Protein: 3g
- Cholesterol: 10mg


