Why You’ll Love This Recipe
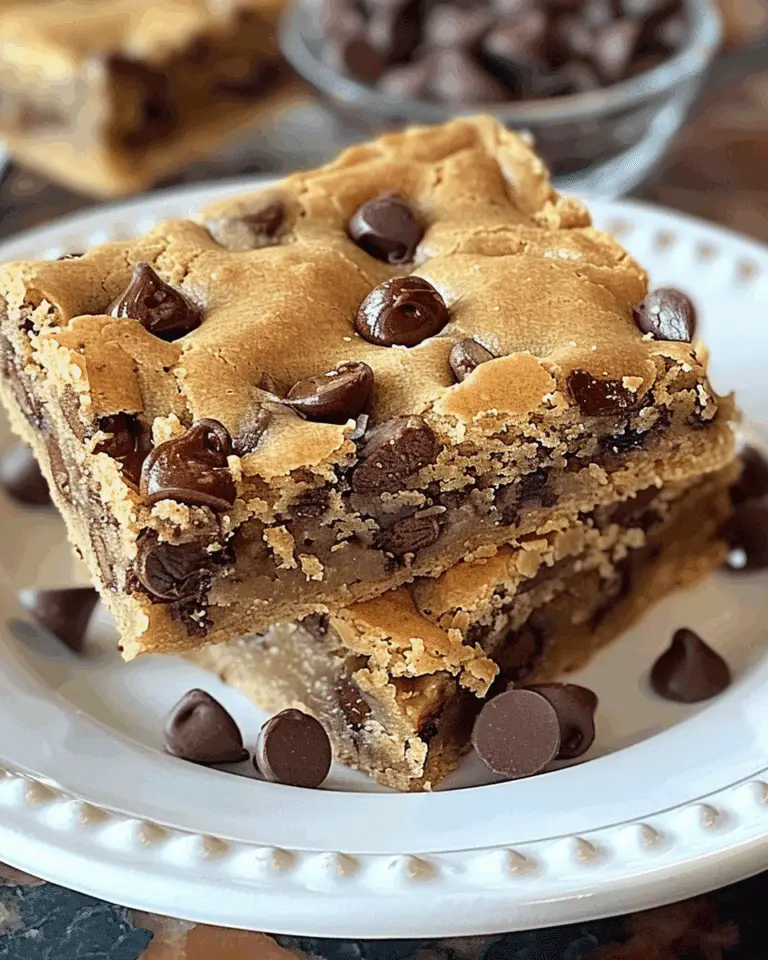
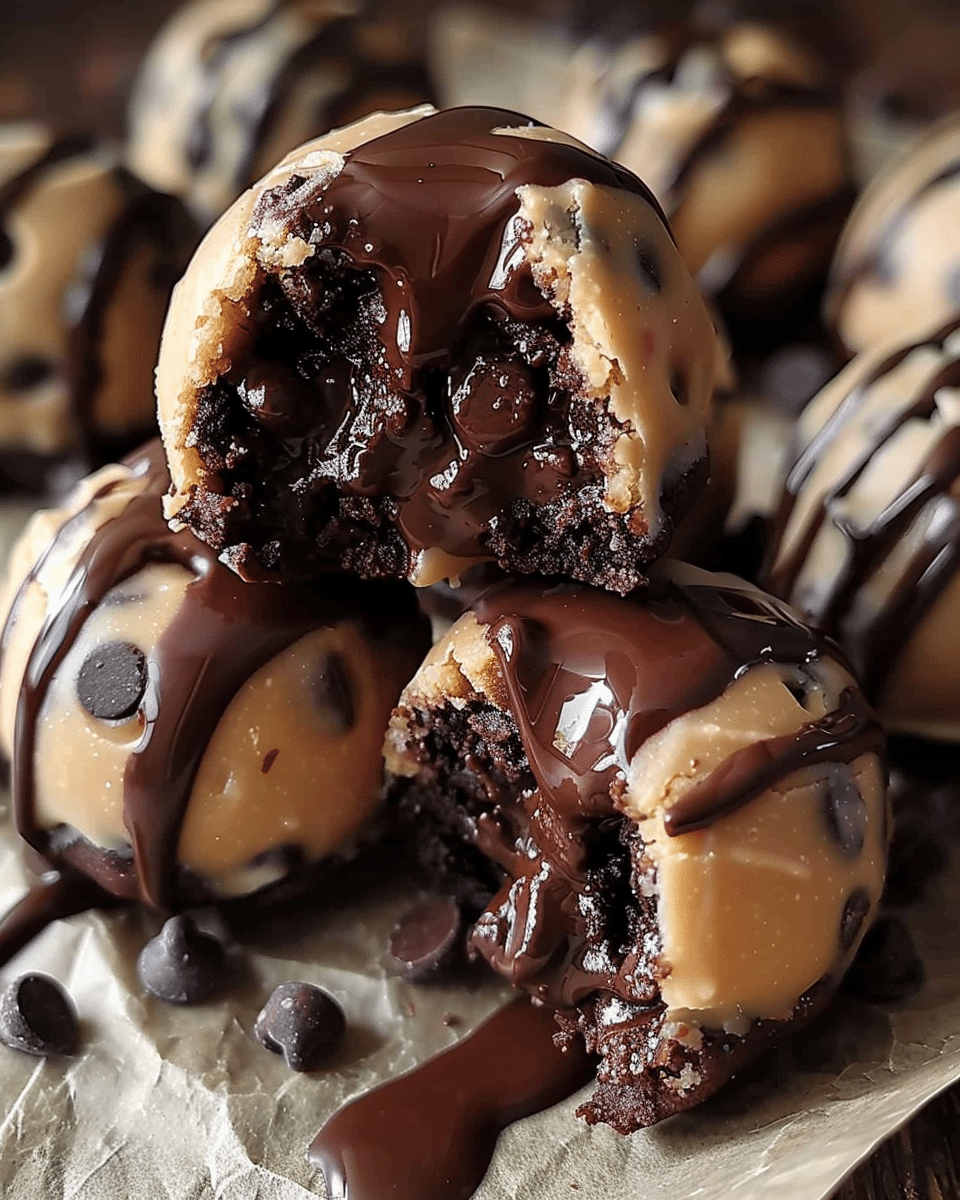
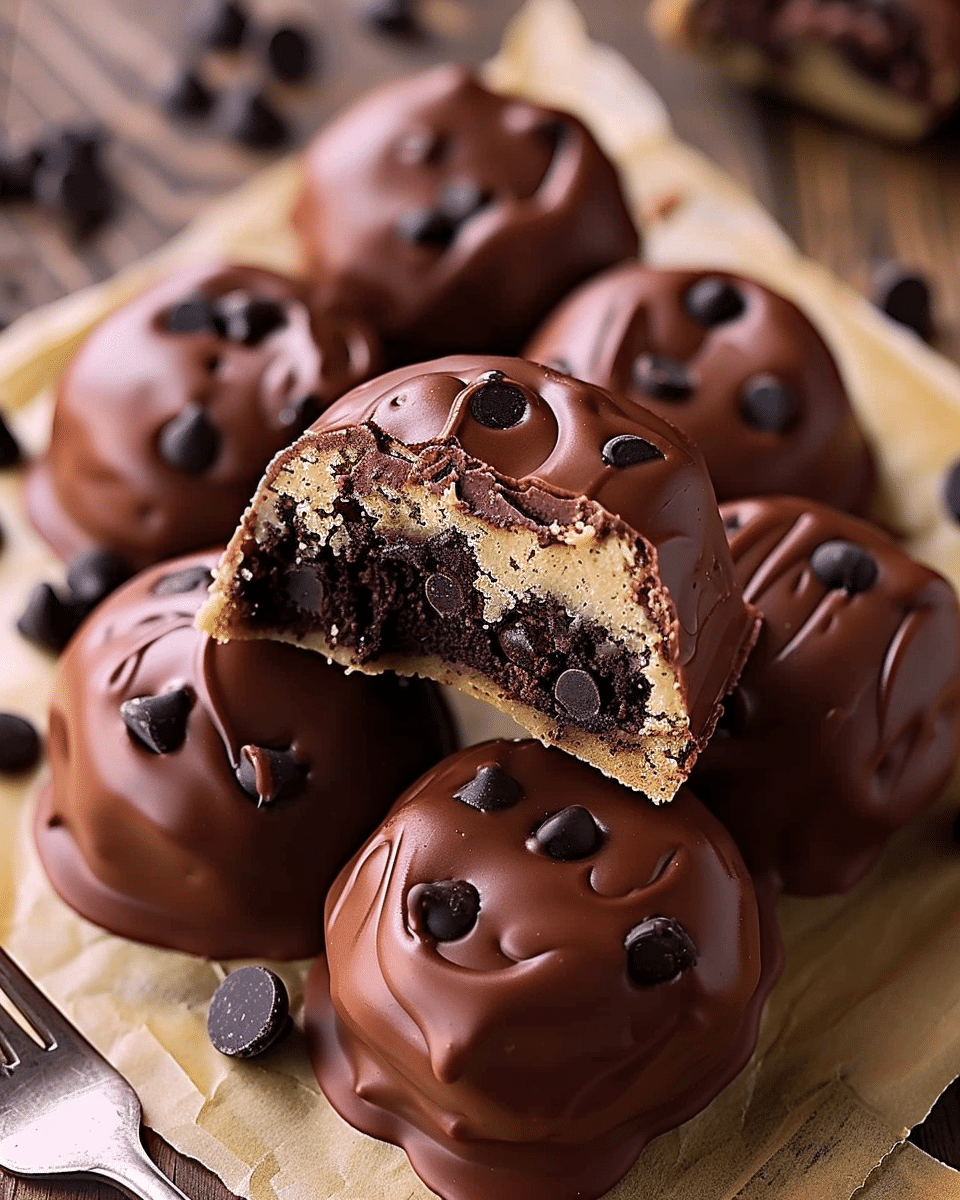
I love that this recipe transforms simple ingredients into something that looks and tastes like a gourmet candy-shop creation. These bombs are rich, fudgy, and full of texture—chewy on the outside, soft in the center, with just the right amount of chocolate crunch on top. Best of all, I can make them ahead and store them in the fridge or freezer, so they’re ready anytime I want to impress guests or indulge myself.
Ingredients
(Here’s a tip: Check out the full list of ingredients and measurements in the recipe card below.)
-
1/2 cup unsalted butter, softened
-
1/2 cup brown sugar
-
1/4 cup white sugar
-
2 tablespoons whole milk
-
1 teaspoon vanilla extract
-
1 cup all-purpose flour (toasted if desired)
-
1/4 teaspoon salt
-
2 cups mini chocolate chips (divided)
-
1 batch fudge brownies, cooled and cut into 1-inch squares
-
16 oz Candiquik or chocolate almond bark, melted
Directions
-
I start by creaming the softened butter with the brown and white sugar until light and fluffy.
-
I mix in the milk and vanilla extract until smooth.
-
Gradually, I stir in the flour and salt until the dough comes together.
-
I fold in 1 cup of mini chocolate chips.
-
Using a tablespoon, I scoop and roll the dough into balls and place them on a foil-lined baking sheet. Then I freeze them for at least 1 hour.
-
While the dough is chilling, I cut the cooled fudge brownies into 1-inch squares.
-
I flatten each brownie square in my hand, place a cookie dough ball in the center, and wrap the brownie around it to form a sealed ball.
-
Once all dough balls are wrapped, I freeze the brownie bombs for another 30 minutes.
-
I melt the Candiquik or almond bark according to the package directions.
-
I dip each brownie bomb into the melted chocolate, let the excess drip off, and place it on wax paper.
-
While the coating is still wet, I sprinkle the tops with the remaining mini chocolate chips. Then I chill them until the chocolate is set.
Servings and timing
This recipe makes about 24 brownie bombs. It takes about 20 minutes to prep the dough, 30 minutes for baking the brownies (if not already made), and about 1.5 hours total for chilling and assembly. I usually plan for about 2 hours start to finish, especially if I’m working in batches.
Variations
Sometimes I switch up the chocolate by using white or dark chocolate for dipping. I’ve also made peanut butter cookie dough instead of chocolate chip, or added chopped nuts to the brownie layer for more texture. To make them holiday-themed, I add sprinkles or drizzle with colored chocolate before chilling.
Storage/Reheating
I store these in an airtight container in the fridge for up to 5 days. For longer storage, I freeze them and thaw in the fridge when I’m ready to serve. These are best served chilled or at room temperature—never reheated, or the chocolate shell and filling will melt and lose their texture.
FAQs
Can I eat the cookie dough raw?
Yes! This dough is egg-free and made with heat-treated (toasted) flour, so it’s safe to eat raw.
What kind of brownies work best?
I use fudgy brownies, not cakey ones—they’re easier to mold and won’t crumble while wrapping the dough.
Can I use store-bought brownies?
Absolutely. I’ve used store-bought brownies and even brownie bites to save time. Just make sure they’re soft and fudgy.
What’s the best way to toast flour?
I bake the flour on a baking sheet at 350°F (175°C) for 5–7 minutes, then let it cool before adding it to the dough. This step makes it safe to eat raw.
How do I keep the dough from sticking to my hands?
I chill my hands under cold water or wear gloves to prevent the dough from getting sticky and melting while wrapping.
Conclusion
These Chocolate Chip Cookie Dough Brownie Bombs are a dessert dream come true—decadent, fun to make, and totally irresistible. I love how they combine multiple textures and flavors in one bite, and they’re perfect for gifting, parties, or stashing in the fridge for sweet cravings. Whether I’m making them with friends or solo for a treat-yourself day, these bombs always deliver.
Chocolate Chip Cookie Dough Brownie Bombs Recipe
5 Stars 4 Stars 3 Stars 2 Stars 1 Star
No reviews
These over-the-top brownie bombs are stuffed with edible cookie dough, wrapped in fudgy brownies, and dipped in a rich chocolate shell—perfect for serious dessert lovers.
- Author: Emma
- Prep Time: 20 minutes
- Cook Time: 30 minutes (brownies)
- Total Time: 2 hours
- Yield: 24 brownie
- Category: Dessert
- Method: No-Bake / Assembly
- Cuisine: American
- Diet: Vegetarian
Ingredients
½ cup unsalted butter, softened
½ cup brown sugar
¼ cup white sugar
2 tablespoons whole milk
1 teaspoon vanilla extract
1 cup all-purpose flour (toasted for safety if desired)
¼ teaspoon salt
2 cups mini chocolate chips (divided)
1 batch fudge brownies, baked, cooled, and cut into 1-inch squares
16 oz Candiquik or chocolate almond bark, melted
Instructions
Make the Cookie Dough:
Cream butter, brown sugar, and white sugar until light and fluffy.
Add milk and vanilla extract and mix until smooth.
Gradually add flour and salt until a soft dough forms.
Stir in 1 cup of mini chocolate chips.
Chill the Dough:
Scoop tablespoon-sized dough balls and place them on a foil-lined baking sheet.
Freeze for at least 1 hour.
Wrap with Brownies:
Cut cooled brownies into 1-inch squares.
Flatten a brownie square in your hand, place a cookie dough ball in the center, and wrap the brownie around to seal.
Repeat with all dough balls and freeze again for 30 minutes.
Dip in Chocolate:
Melt Candiquik or almond bark according to package instructions.
Dip each brownie bomb into melted chocolate, let the excess drip off, and place on wax or parchment paper.
Immediately sprinkle with remaining mini chocolate chips.
Set and Serve:
Chill in the refrigerator until chocolate shell is firm.
Serve chilled or at room temperature.
Notes
To toast flour safely, bake it at 350°F (175°C) for 5–7 minutes, then cool completely before using.
Wearing gloves or chilling your hands helps prevent melting the dough while wrapping.
Brownies should be dense and fudgy, not cakey.
Store in an airtight container in the fridge for up to 1 week or freeze for longer storage.
Do not reheat—serve cold or room temperature for best texture.


