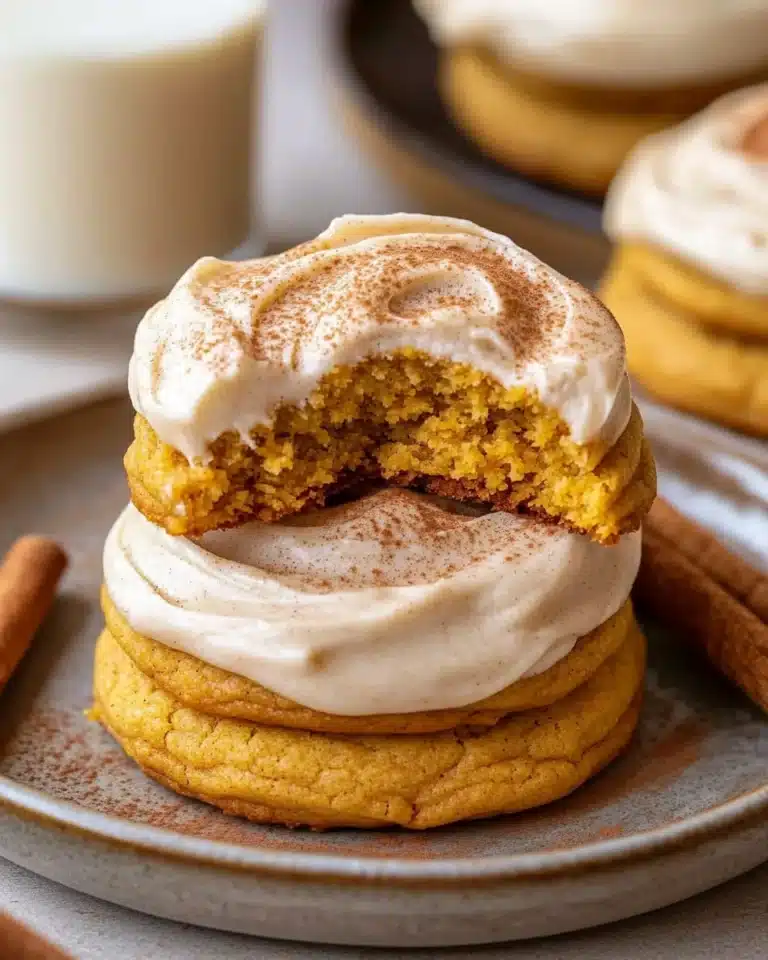
I am beyond excited to share my favorite no-campfire treat: this delightful S’mores Cookie Bars Recipe. These bars capture everything I love about classic s’mores—the crunchy graham crackers, melty chocolate, and gooey marshmallows—packed into a soft, chewy cookie bar form. I keep coming back to this recipe because it’s the perfect blend of nostalgia and simplicity, making it a dessert that everyone can enjoy any time of year without needing a campfire or skewers at hand.
Why You’ll Love This S’mores Cookie Bars Recipe
One of the reasons I adore this S’mores Cookie Bars Recipe is the combination of textures and flavors. You get the satisfying crunch of graham crackers on the bottom, the rich buttery cookie dough, bursts of sweet melted chocolate, and the soft, gooey marshmallows—each bite is like a party in your mouth. It’s that classic s’mores experience, but elevated and so much easier to eat in bar form.
What makes this recipe truly special for me, though, is how straightforward it is to prepare. I don’t need to fuss with roasting marshmallows over an open flame or making complicated layers. It’s as simple as layering graham crackers, mixing your dough, and baking. This recipe is a go-to for casual get-togethers, potlucks, or when I just crave a cozy, nostalgic treat. It stands out because it’s both crowd-pleasing and comforting, perfect for any season.
Ingredients You’ll Need

Every ingredient in this recipe plays a crucial role in creating those iconic s’mores flavors and textures, yet the list remains refreshingly simple. From buttery richness to sweet marshmallow hugs, here’s what you’ll need:
- Graham crackers: These form the crunchy base layer, giving your bars that authentic s’mores flavor and a sturdy texture.
- Unsalted butter (room temperature): It adds richness and helps achieve that tender, chewy cookie texture.
- Granulated sugar: For a light sweetness and slight crispiness in the cookie dough.
- Light brown sugar (packed): This brings moisture and a hint of caramel depth to the bars.
- Large eggs (room temperature): Bind everything together while adding structure and softness.
- Vanilla extract: Just a touch to enhance flavors and round out the sweetness beautifully.
- All-purpose flour: The fundamental building block for the dough, offering structure and chew.
- Salt: Balances the sweetness and brightens all the flavors.
- Baking soda: Helps the cookie dough rise perfectly, creating the ideal texture.
- Semi-sweet chocolate chips: For delightful pockets of melted chocolate in every bite.
- Mini marshmallows: They provide that signature gooeyness and sweetness throughout the bars.
- Hershey’s chocolate bars: Used on top after baking to melt slightly, giving you that melty finish to each bar.
Directions
Step 1: Preheat your oven to 375°F and line a 9×13-inch baking dish with parchment paper, leaving plenty of overhang on the sides so you can lift the bars out easily later.
Step 2: Arrange the graham crackers in a single layer at the bottom of your prepared pan, breaking pieces as needed to fill the space completely. Set this aside while you prepare the dough.
Step 3: In a large mixing bowl, beat the softened butter and both sugars together with an electric mixer until the mixture is smooth and creamy. This step is key for that perfect texture.
Step 4: Add your eggs one at a time along with the vanilla extract, making sure everything is combined perfectly and smooth.
Step 5: Gently mix in the flour, salt, and baking soda just until you see no more flour streaks. Be careful not to overmix, or the bars may become tough.
Step 6: Fold in the semi-sweet chocolate chips and mini marshmallows, distributing them evenly throughout the dough for maximum gooey pockets.
Step 7: Scoop spoons of cookie dough on top of the graham cracker layer, then press down firmly to create a flat and even layer. Sprinkle additional mini marshmallows on top for an irresistible golden finish.
Step 8: Bake your bars in the preheated oven for 20-30 minutes. Check after 20 minutes by inserting a toothpick; it should come out mostly clean with a few crumbs but no wet dough. If the edges start browning too fast, tent aluminum foil over the pan to prevent burning.
Step 9: Remove the bars from the oven and immediately place broken pieces of Hershey’s chocolate bars over the top. Let the bars cool completely in the pan—the heat will melt the chocolate and create that classic gooey topping.
Step 10: Use the parchment paper overhang to lift the bars from the pan, then slice into generous squares. Serve and enjoy the magic of s’mores anytime you like!
Servings and Timing
This S’mores Cookie Bars Recipe yields about 12 generous servings—perfect for sharing with friends or family. The prep time is around 15 minutes, making it a quick and effortless dessert. Baking takes between 20 to 30 minutes, depending on your oven, and you’ll want to allow at least 15 minutes for cooling so the chocolate topping can set just right. Altogether, you’re looking at about 50 to 60 minutes from start to finish, making this an excellent go-to sweet treat for busy days or last-minute parties.
How to Serve This S’mores Cookie Bars Recipe

When I serve these S’mores Cookie Bars, I love to plate them slightly warm so the chocolate is still soft, but not too molten to handle. They pair beautifully with a scoop of vanilla ice cream or a drizzle of caramel for an indulgent touch. If you want to add a little festive flair, a sprinkling of crushed graham crackers or a few extra mini marshmallows on top makes the presentation really pop.
For beverages, I usually reach for a cold glass of milk, which perfectly balances the sweetness and richness. For something more grown-up, a light dessert wine or a creamy coffee cocktail generates applause every time. These bars also work wonderfully as a sweet ending to summer BBQs, birthday parties, or cozy family dinners, bringing everyone together with a nostalgic smile.
If you’re serving at a party, I recommend cutting the bars into bite-sized squares and placing them on a rustic wooden board alongside fresh fruit or nuts. It adds a nice balance and invites guests to nibble and mingle. Whether served warm, at room temperature, or chilled, these bars always get devoured in record time.
Variations
I love experimenting with this base recipe to suit different tastes and dietary needs. For instance, swapping out the all-purpose flour for a gluten-free blend works wonderfully if you want to make it gluten-free. Just be sure to add a little xanthan gum if your blend doesn’t contain it, to keep the bars tender.
If you’re vegan, you can replace butter with a plant-based spread and use flax eggs instead of real eggs—this adaptation still keeps the texture delightful. Dark chocolate chips or vegan marshmallows make fantastic substitutes too. Sometimes, I also like mixing in some chopped nuts like almonds or pecans for an added crunch and nutty flavor.
For a flavor twist, try adding a pinch of cinnamon or substituting the classic Hershey’s bars with peanut butter cups. You can also experiment with baking these as individual cookies or even mini cups for portable, single-serve treats. No matter how you tweak it, this S’mores Cookie Bars Recipe is forgiving and flexible enough to satisfy your sweet tooth any way you like.
Storage and Reheating
Storing Leftovers
Once your bars have cooled completely, I recommend storing any leftovers in an airtight container at room temperature. This keeps them fresh and soft for about 3 to 4 days. If you want them to last a little longer, keep the container in the refrigerator—although I find they’re best enjoyed within a couple of days to capture that fresh-from-the-oven gooeyness.
Freezing
These bars freeze wonderfully! To freeze, wrap individual bars tightly in plastic wrap and then place them in a freezer-safe zip-top bag or airtight container. This double layer prevents freezer burn and keeps the flavors intact. They can be stored for up to 2 months. When ready to eat, simply thaw at room temperature or warm slightly in the microwave for a few seconds to get that magical melted chocolate and marshmallow effect back.
Reheating
To restore that fresh-baked feeling, I warm leftover bars gently in the microwave for 15 to 20 seconds or in a preheated oven set to 300°F for about 5 minutes. This brings back the melty chocolate and soft marshmallows without drying out the cookie base. Avoid overheating as it can harden the marshmallows and make the bars tough, so a gentle touch is key!
FAQs
Can I use a different type of chocolate?
Absolutely! While I love the classic Hershey’s bars for that nostalgic s’mores flavor, feel free to experiment with milk chocolate, dark chocolate, or even white chocolate. Just remember that the melting and sweetness levels will vary, so choose according to your preference.
What if I don’t have mini marshmallows?
If mini marshmallows aren’t available, you can chop up regular-sized marshmallows into smaller pieces. They’ll still melt nicely and give you that gooey texture. Alternatively, marshmallow fluff can be swirled into the dough after mixing, but it will change the consistency slightly.
Can I make these bars ahead of time?
Yes! I often prepare these bars the day before I plan to serve them. Just bake and cool as usual, then cover them tightly and store at room temperature or in the fridge. They taste just as amazing the next day and save you some prep time on the big day.
What if my bars crack when cutting?
This can happen if the bars are completely cooled or too dry. To avoid cracking, make sure to slice them when they are slightly warm using a sharp knife. Warming in the microwave for a few seconds before cutting can help create clean cuts and keep the gooey layers intact.
Is this recipe suitable for kids?
Definitely! This recipe is a big hit with kids thanks to its familiar flavors and sweet, soft texture. Just be cautious if serving to very young children because of the sticky marshmallows and chocolate—cut the bars into smaller, manageable pieces to prevent choking hazards.
Conclusion
I genuinely hope you feel inspired to try this S’mores Cookie Bars Recipe because it’s truly one of my all-time favorites to bake and share. It’s warm, comforting, and taps into those playful memories of s’mores around a campfire—without any of the hassle. Whether for a family dessert, a fun party snack, or a cozy treat, these bars never disappoint. Enjoy baking and especially savoring every sweet, melty bite!
PrintS’mores Cookie Bars Recipe

Delight in these indulgent S’mores Cookie Bars that bring all the classic flavors of a campfire treat to your oven. This easy-to-make dessert layers a graham cracker base with a buttery cookie dough loaded with chocolate chips and mini marshmallows, topped off with gooey melted Hershey’s chocolate for a comforting, nostalgic treat that serves 12.
- Prep Time: 15 minutes
- Cook Time: 25 minutes
- Total Time: 40 minutes
- Yield: 12 servings
- Category: Dessert
- Method: Baking
- Cuisine: American
Ingredients
Base
- 8–10 graham crackers
Cookie Dough
- 1 cup (2 sticks) unsalted butter, at room temperature
- 3/4 cup granulated sugar
- 3/4 cup light brown sugar, packed
- 2 large eggs, at room temperature
- 1 teaspoon vanilla extract
- 3 cups all-purpose flour
- 1/2 teaspoon salt
- 1/2 teaspoon baking soda
- 1/2 cup semi-sweet chocolate chips
- 1 cup mini marshmallows
Topping
- Additional mini marshmallows (for sprinkling)
- 2 Hershey’s chocolate bars
Instructions
- Preheat and prepare pan: Preheat your oven to 375°F (190°C). Line a 9×13-inch baking dish with parchment paper, making sure to leave an overhang on the sides for easy removal of the bars later.
- Arrange graham crackers: Place the graham crackers in a single layer on the bottom of the prepared pan, breaking them into pieces as needed to cover the entire surface evenly. Set aside.
- Make cookie dough: In a mixing bowl, use an electric mixer to beat together the butter, granulated sugar, and light brown sugar until the mixture is smooth and creamy. Add in the eggs and vanilla extract, then mix until fully combined.
- Incorporate dry ingredients and mix-ins: Gradually add the flour, salt, and baking soda to the wet ingredients, mixing just until combined. Fold in the semi-sweet chocolate chips and mini marshmallows to distribute evenly throughout the dough.
- Assemble cookie layer: Using a spoon, scoop portions of the cookie dough onto the graham cracker base, then press down evenly to create a uniform layer across the pan. Sprinkle additional mini marshmallows evenly over the top for extra gooeyness.
- Bake the bars: Place the pan in the preheated oven and bake for 20-30 minutes, or until the cookie layer turns golden brown and a toothpick inserted in the center comes out clean. If the top browns too quickly, tent with foil to prevent burning.
- Add chocolate topping and cool: Remove the pan from the oven and immediately place pieces of the Hershey’s chocolate bars on top. Allow the bars to cool thoroughly so that the chocolate melts slightly and becomes gooey.
- Serve: Lift the bars out of the pan using the parchment paper overhang and slice into squares. Enjoy the delicious S’mores Cookie Bars warm or at room temperature!
Notes
- For easier slicing, allow bars to cool completely before cutting.
- Use parchment paper with an overhang to easily lift bars out of the pan.
- If you prefer, substitute the Hershey’s chocolate bars with your favorite chocolate for variety.
- Store leftovers in an airtight container at room temperature for up to 3 days.
- Mini marshmallows can be added directly into the dough and sprinkled on top for extra gooey texture.