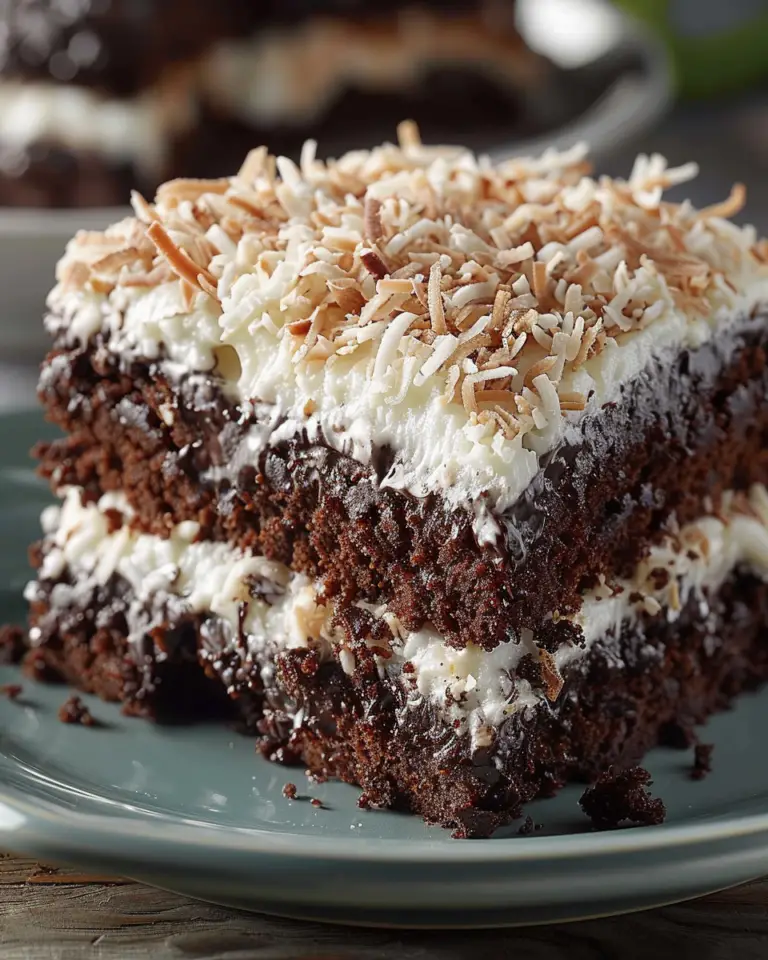
I absolutely adore this No-Bake Peanut Butter Pie Recipe because it combines rich, creamy peanut butter with a light, fluffy filling that melts in your mouth. From the first bite, you get a perfect balance of sweet and salty, complimented by the delightful crunch of chopped peanut butter cups and peanuts on top. It’s a no-fuss dessert that feels like a special treat, yet comes together so quickly—making it one of my go-to recipes when I want something impressive without the stress of baking.
Why You’ll Love This No-Bake Peanut Butter Pie Recipe
What really gets me about this pie is the flavor profile. The creamy peanut butter filling is decadently smooth, yet lightened by the whipped topping so it’s not too heavy. Paired with the buttery graham cracker crust and the little bursts of chocolate from chopped peanut butter cups, every bite is an amazing mix of textures and flavors. I find myself sneaking spoonfuls straight from the fridge because it’s that irresistible!
Aside from tasting fantastic, this recipe is incredibly easy to prepare, which is such a win in my book. You don’t have to turn on your oven or worry about complicated steps. Mixing everything together with a hand mixer and popping it in the fridge is so stress-free. I love serving this pie at family gatherings and casual get-togethers because it always impresses and caters to peanut butter lovers. Honestly, it stands out because it’s a perfect combination of convenience, flavor, and fun texture contrast.
Ingredients You’ll Need

The ingredients for this pie are wonderfully simple yet essential to capturing that classic flavor and creamy texture. Each one plays a crucial role, whether it’s the soft cream cheese adding richness or the whipped topping lightening the filling. Here’s what you’ll need to create this crowd-pleaser:
- Cream cheese (8 ounces, softened): Adds a creamy, tangy richness that balances the peanut butter’s sweetness.
- Creamy peanut butter (1 cup): The star ingredient that delivers that unmistakable peanut butter flavor and smooth texture.
- Confectioners sugar (¾ cup): Sweetens the filling without any grit, blending perfectly with the other creamy ingredients.
- Vanilla extract (1 teaspoon): Enhances and rounds out the flavors for a deeper, more complex taste.
- Whipped topping (8 ounces, thawed and divided): Lightens the filling and adds a soft, fluffy texture that keeps the pie airy!
- Pre-made graham cracker pie crust (1): Saves time and gives a buttery, slightly crunchy base to contrast with the creamy filling.
- Reese’s peanut butter cups (2–3, chopped): Adds bursts of chocolate and peanut butter on the top for fun texture and extra indulgence.
- Crushed peanuts (½ cup, optional): An extra crunchy topping to elevate the presentation and add a salty crunch.
Directions
Step 1: In a large mixing bowl, use an electric or hand mixer to beat the softened cream cheese, creamy peanut butter, confectioners sugar, and vanilla extract together until the mixture is completely smooth and well combined. This ensures no lumps and a velvety texture.
Step 2: Gently fold in about half of the whipped topping (roughly 1 ½ cups) using a spatula, being careful not to deflate the fluffy texture too much. The goal is to keep the filling light while fully incorporating the whipped topping.
Step 3: Pour this luscious peanut butter filling into your prepared graham cracker crust, smoothing the top with a spatula or a cake/frosting knife for an even, polished look.
Step 4: Spread the remaining whipped topping evenly over the peanut butter layer, creating a creamy topcoat that looks inviting and soft.
Step 5: Sprinkle the chopped Reese’s peanut butter cups and optional crushed peanuts generously over the top to add texture, flavor, and that extra eye-catching appeal.
Step 6: Transfer the pie to the refrigerator and chill for at least 2 hours, or ideally overnight, so the filling firms up perfectly. When ready, slice into 8 servings and enjoy the irresistibly creamy and crunchy pie.
Servings and Timing
This No-Bake Peanut Butter Pie Recipe makes 8 generous servings, perfect for sharing with family and friends. Preparation time is about 10 minutes, which includes mixing and assembling the pie. There’s no actual cooking time since it’s a no-bake dessert, but you do need to allow 2 to 4 hours for chilling (or overnight for the best firmness and flavor). The total time from start to finish, including chilling, is roughly 2 hours and 10 minutes.
How to Serve This No-Bake Peanut Butter Pie Recipe

When I serve this pie, I love to pair it with fresh fruit on the side—sliced strawberries or banana make a terrific combination because their natural sweetness and acidity balance the richness of the peanut butter pie. For an extra touch, a drizzle of chocolate sauce or caramel over the top brightens the presentation and adds an indulgent layer of flavor.
Garnishing the pie with extra chopped peanut butter cups and crushed peanuts always makes it look irresistible and adds a nice textural contrast. I usually serve the pie chilled straight from the fridge because the firm, creamy texture is so refreshing and satisfying on warm days or after a hearty meal. Portion-wise, I cut it into 8 slices, but it’s rich enough that smaller servings work well for parties or special occasions.
For drink pairings, I often reach for a glass of cold milk since peanut butter and milk are a classic duo. But if I’m serving adults, a smooth dessert wine like a late harvest Riesling or even a peanut butter-themed cocktail can be exciting choices. This pie shines at family dinners, summer parties, or anytime I want a fuss-free but impressive dessert that everyone will rave about.
Variations
One of the things I appreciate most about this recipe is how adaptable it is. If you want to switch things up, I often substitute the traditional graham cracker crust for a gluten-free option if needed, or even use a chocolate cookie crust to amp up the chocolate flavor. For a vegan twist, you can use vegan cream cheese and whipped topping alternatives, and swap regular peanut butter for a natural peanut butter without added sugars.
For a fun flavor variation, try folding in mini chocolate chips or swirl in some melted Nutella before chilling. Adding a pinch of cinnamon or a sprinkle of sea salt on top can also elevate the pie’s complexity. Though it’s a no-bake recipe, if you’re craving a warm dessert, you could bake the crust lightly beforehand to add a toasty depth. I always encourage experimenting with the toppings and crust to tailor this pie to your personal taste and dietary needs.
Storage and Reheating
Storing Leftovers
I store leftover pie in an airtight container or tightly covered with plastic wrap in the refrigerator. The pie stays fresh and maintains its creamy texture for up to 3 to 4 days. Keeping it chilled prevents the whipped topping from weeping and keeps the crust from getting soggy. Just make sure to cover it well to avoid absorbing any fridge odors.
Freezing
This pie freezes well if you want to prepare it ahead of time. I recommend wrapping the pie tightly in plastic wrap and then in aluminum foil or placing it in a freezer-safe container. Freeze for up to 1 month. When ready to eat, thaw it overnight in the refrigerator. The texture remains creamy, though the whipped topping may lose a bit of its fluffiness, which can be gently re-whipped before serving if desired.
Reheating
Since this is a no-bake, chill-only dessert, I do not recommend reheating it at all—you want to enjoy this pie cold or at room temperature for the best flavor and texture. If the pie is too firm straight from the fridge, letting it sit at room temperature for 10 to 15 minutes before serving helps soften it slightly without melting the structure.
FAQs
Can I use crunchy peanut butter instead of creamy?
You absolutely can! Using crunchy peanut butter will add an extra nutty texture to the filling. Just be sure to blend it very well with the cream cheese and powdered sugar to avoid any lumps. The resulting pie will have a slightly more textured bite, which many people enjoy.
What if I don’t have a pre-made pie crust? Can I make one from scratch?
Definitely! A simple homemade graham cracker crust made with crushed graham crackers, melted butter, and a bit of sugar will work beautifully. Just press it firmly into your pie pan and chill it before adding the filling. You can also try a cookie crust if you want to switch things up.
Can I make this pie ahead of time?
Yes, this pie is perfect for making ahead. In fact, chilling it overnight allows the flavors to meld and the filling to firm up perfectly. Just make sure to cover it tightly in the refrigerator to keep it fresh until you’re ready to serve.
Is this recipe suitable for kids?
Absolutely! Kids adore this pie because it’s sweet, peanut buttery, and fun with its soft filling and chocolatey topping. Just check for any nut allergies among your little guests before serving.
Can I omit the peanut butter cups and still have a great pie?
Yes, the peanut butter cups are optional toppings that add extra flavor and texture, but the pie is delicious even without them. You could also replace them with chocolate shavings, chopped nuts, or leave the pie topped with just whipped topping for a simpler presentation.
Conclusion
I hope you give this No-Bake Peanut Butter Pie Recipe a try because it truly is one of my favorite go-to desserts that’s effortless yet amazingly satisfying. Its creamy texture, perfect balance of flavors, and no-bake convenience make it a winner every time I serve it. Whether for a special occasion or a simple treat, it never fails to impress and delight. I’m excited for you to experience the joy of this pie as much as I do!
PrintNo-Bake Peanut Butter Pie Recipe

This No-Bake Peanut Butter Pie is a luscious, creamy dessert perfect for peanut butter lovers. Combining a smooth peanut butter and cream cheese filling with a whipped topping in a graham cracker crust, it’s topped with chopped Reese’s peanut butter cups and crushed peanuts for an irresistible crunch. Easy to prepare and requiring no baking, it’s ideal for quick gatherings or a sweet treat any time.
- Prep Time: 15 minutes
- Cook Time: 0 minutes
- Total Time: 2 hours 15 minutes
- Yield: 8 servings
- Category: Dessert
- Method: No-Cook
- Cuisine: American
Ingredients
Filling
- 8 ounces cream cheese, softened to room temperature
- 1 cup creamy peanut butter
- ¾ cup confectioners sugar
- 1 teaspoon vanilla extract
- 8 ounces whipped topping (such as Cool Whip), thawed and divided
Crust
- 1 pre-made graham cracker pie crust
Toppings
- 2–3 Reese’s peanut butter cups, chopped
- ½ cup crushed peanuts (optional)
Instructions
- Prepare the filling: In a large bowl, use an electric or hand mixer to beat together the softened cream cheese, creamy peanut butter, confectioners sugar, and vanilla extract until the mixture is smooth and well combined.
- Fold in whipped topping: Gently fold in half of the whipped topping (about 1 ½ cups) into the peanut butter mixture until just combined, maintaining the airy texture.
- Assemble the pie: Pour the peanut butter filling into the pre-made graham cracker crust and smooth the surface with a spatula or frosting knife. Spread the remaining whipped topping evenly over the top of the filling.
- Add toppings: Sprinkle the chopped Reese’s peanut butter cups and the crushed peanuts over the whipped topping to decorate and add crunch.
- Chill to set: Refrigerate the pie for 2 to 4 hours, or overnight if possible, to allow it to firm up before slicing and serving. Enjoy this creamy, no-bake dessert!
Notes
- For best results, ensure the cream cheese is fully softened to avoid lumps in the filling.
- If you prefer a firmer pie, refrigerate overnight before serving.
- For a nut-free version, omit the crushed peanuts and substitute peanut butter cups with a safe alternative.
- Leftover pie can be stored covered in the refrigerator for up to 3 days.