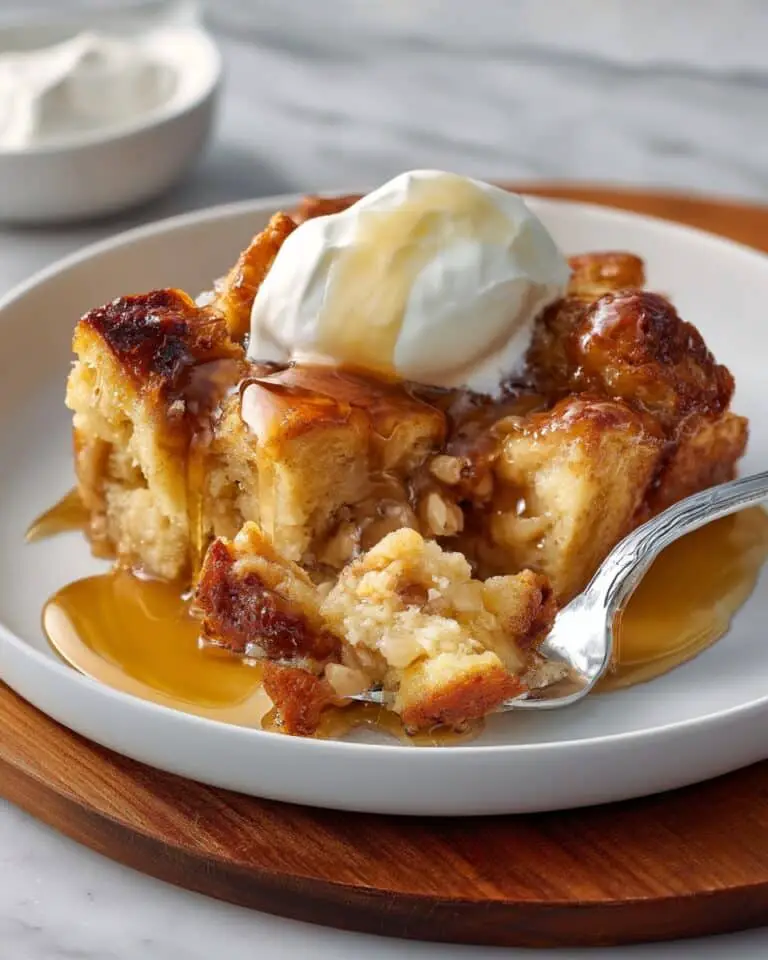
I absolutely adore this Apple Pie Cheesecake Jars Recipe because it captures all the cozy, comforting flavors of autumn in a fun, portable dessert jar. It combines the spiced, tender apples of a classic apple pie with the smooth, creamy richness of cheesecake, all layered on a buttery graham cracker crust. Each jar feels like a little celebration, perfect for sharing or savoring on your own when you want to feel truly spoiled. I love how the recipe balances sweet, tangy, and creamy elements, making every spoonful delightful.
Why You’ll Love This Apple Pie Cheesecake Jars Recipe
What makes this Apple Pie Cheesecake Jars Recipe so special for me is the incredible harmony of flavors. The cinnamon-spiced apples have just the right amount of sweetness and warmth, while the creamy cheesecake layer adds a luscious, velvety texture that feels luxurious but never too heavy. The graham cracker crust brings a subtle crunch and a mellow, buttery note that ties everything together. It’s like having an apple pie and cheesecake combined, but without the fuss of baking a traditional pie.
On top of the flavor, I love how surprisingly easy this recipe is to prepare. No complicated baking skills needed, just some simple mixing, cooking the apple filling on the stove, and layering the ingredients into little jars. This makes it perfect for last-minute parties or casual family dinners alike. Plus, the individual jars are great for portion control and presentation, which always impresses my guests. I find it’s a perfect dessert for holidays, weekend get-togethers, or when I just want a sweet treat that feels special.
Ingredients You’ll Need

The ingredients for this Apple Pie Cheesecake Jars Recipe are simple but thoughtfully chosen to create layers of flavor and texture. Each component—from the tangy cream cheese to the spiced apples—works together to make the jars truly memorable and delicious.
- Heavy whipping cream: Adds richness and helps create fluffy, airy whipped cream and cheesecake layers.
- Powdered sugar: Sweetens the cream without leaving graininess and ensures smooth texture.
- Cream cheese: The base of the cheesecake filling, providing tang and creaminess.
- Raw sugar: Offers a deeper, caramel-like sweetness perfect for the apples and cheesecake.
- Vanilla extract: Enhances all the flavors with warm, aromatic notes.
- Apples: The star of the pie filling; I love using firm varieties like Granny Smith or Honeycrisp.
- Lemon juice: Stops the apples from browning and adds bright acidity.
- All-purpose flour: Thickens the pie filling to the perfect consistency.
- Cinnamon: Infuses the apples with classic warm spice flavor.
- Maple syrup: Adds natural sweetness and depth to the apple mixture.
- Water: Helps soften the apples as they cook.
- Graham cracker crumbs: Give a buttery, crunchy crust layer that balances creamy cheesecake.
- Butter: Binds the crust crumbs and adds richness.
Directions
Step 1: Pour the heavy whipping cream into a medium bowl. Using an electric mixer on medium-high speed, beat the cream until it just starts to thicken.
Step 2: Gradually add the powdered sugar while continuing to beat until stiff peaks form. Set this whipped cream aside for later folding into the cheesecake layer.
Step 3: In a separate large bowl, combine the softened cream cheese, raw sugar, and vanilla extract. Use the electric mixer on medium speed until the mixture is smooth and creamy, with no lumps.
Step 4: Gently fold the whipped cream into the cream cheese mixture until well combined, keeping the texture light and fluffy.
Step 5: Transfer the cheesecake mixture into a piping bag or a large plastic bag, seal it, and refrigerate for at least one hour. Don’t cut the tip just yet—you’ll do that right before assembling the jars.
Step 6: Dice the apples into small, even pieces. Place them in a small saucepan, then add the lemon juice, raw sugar, flour, cinnamon, maple syrup, and water. Stir everything together well.
Step 7: Cook the apple mixture over medium heat, stirring occasionally, until the apples soften and the mixture thickens slightly, about 15 to 20 minutes. Remove from heat and let cool completely, refrigerating if needed.
Step 8: Crush the graham crackers into fine crumbs using a food processor or by placing them in a sealed bag and rolling with a rolling pin. Combine the crumbs with melted butter in a small bowl until the mixture resembles wet sand.
Step 9: Spoon about 2 tablespoons of the graham cracker crust into the bottom of each jar. You don’t need to press it down—just shake the jar gently to distribute the crumbs evenly.
Step 10: Cut a small hole in the tip of your chilled cheesecake piping bag. Pipe a generous layer of cheesecake on top of the crust in each jar.
Step 11: Spoon approximately 2 tablespoons of the cooled apple pie filling over the cheesecake layer, leveling it out gently with the back of the spoon.
Step 12: Top each jar with a dollop of whipped cream. Finish by sprinkling any leftover graham cracker crumbs or a pinch of cinnamon for an extra touch of flavor and visual appeal.
Servings and Timing
This Apple Pie Cheesecake Jars Recipe yields about 8 individual servings, perfect for sharing with friends or family. The prep time is around 30 minutes, but given the resting and cooling periods, you should plan about 2 hours total to have everything perfectly set. The majority of the time is hands-off while the apple filling cooks and cools, and the cheesecake layer chilling in the fridge. I find this timeline manageable for an afternoon of cooking with enough room to relax before enjoying.
How to Serve This Apple Pie Cheesecake Jars Recipe

I love serving these Apple Pie Cheesecake Jars slightly chilled straight from the fridge, especially on warm days. The cool, creamy texture paired with the warm autumn apple filling creates a contrast that’s utterly satisfying. When I serve them for gatherings, I often bring out a few jars at a time so guests can help themselves, pairing with a coffee or spiced tea for a cozy vibe.
For a touch of elegance, I’ll garnish each jar with a small cinnamon stick or a fresh mint sprig, and sometimes a drizzle of extra maple syrup. If you want to amp up the indulgence, a side of salted caramel sauce or a small scoop of vanilla bean ice cream pairs beautifully with the flavors. For portion control, these jars are just the right size—not too big, but enough to feel like a treat.
These are such a hit at holiday dinners or casual weekend brunches. I also like to pair them with a crisp apple cider or a light, fruity white wine like a Riesling. If you prefer non-alcoholic options, sparkling water with a splash of apple juice and a cinnamon stick really complements the flavors without overpowering them.
Variations
Over time, I’ve experimented with different versions of this Apple Pie Cheesecake Jars Recipe to suit all tastes and diets. For instance, swapping out the raw sugar for coconut sugar gives a richer, slightly nuttier sweetness that I love, and it works wonderfully in the apple filling. If you prefer a gluten-free option, just substitute the graham crackers with gluten-free graham crumbs or crushed gluten-free cookies—you won’t lose any of the buttery crunch.
For a vegan twist, I replace the cream cheese with a dairy-free cream cheese alternative and substitute the heavy cream with full-fat coconut cream whipped until fluffy. The applesauce or cooked apples taste just as fantastic, maintaining that signature warm spice profile. I’ve also played with adding other spices like nutmeg or ginger for extra depth, and a splash of bourbon or brandy can turn this dessert into an adult-only indulgence perfect for special occasions.
If you’re short on time or want a quicker option, no-bake cheesecake filling works great here too. You could also assemble the jars ahead of time and let them chill overnight—this actually enhances the flavors as they meld together beautifully. Baking the crust briefly before assembling adds a little extra toastiness that’s an unexpected treat.
Storage and Reheating
Storing Leftovers
I recommend keeping any leftover Apple Pie Cheesecake Jars refrigerated in airtight containers or tightly sealed jars. They will stay fresh for up to 3 days, which makes them perfect for enjoying over a couple of days without losing any taste or texture. Just make sure the lids are secure to prevent the cheesecake from absorbing any fridge odors.
Freezing
These jars freeze reasonably well, though I prefer freezing the cheesecake filling separately to maintain the best texture. If you do freeze the assembled jars, wrap them tightly with plastic wrap and place them inside a freezer-safe container. They keep for up to one month frozen. To thaw, move them to the fridge overnight and add fresh whipped cream before serving for that just-made feel.
Reheating
This dessert is best served chilled and does not require reheating. If you feel the apple filling is too cold, you can warm the apples gently on the stove before assembling or serve the jar at room temperature. Avoid microwaving the whole jar as it can alter the texture of the cheesecake and crust significantly. Instead, reheat only the apple filling separately if necessary for the best experience.
FAQs
Can I use a different type of apple for the pie filling?
Absolutely! I usually prefer tart apples like Granny Smith or Honeycrisp for their firmness and flavor balance, but Fuji or Gala apples can work well too. Just keep in mind that sweeter apples might make the filling a bit less tangy, so you might want to adjust the sugar accordingly.
Is it possible to make these jars ahead of time?
Yes! I often prepare the cheesecake filling and apple pie filling phases a day ahead. Store them separately in the fridge and assemble the jars just before serving for the freshest taste. Alternatively, you can fully assemble the jars and refrigerate overnight for flavors to meld beautifully.
Can I substitute the graham cracker crust for something else?
Definitely. If you want to try something different, crushed digestive biscuits or shortbread cookies are great alternatives. For a gluten-free option, use gluten-free cookie crumbs. Just make sure to mix them well with melted butter for that classic crust texture.
What if I don’t have a piping bag? How else can I layer the cheesecake?
No piping bag? No problem! You can spoon the cheesecake mixture directly into the jars and smooth it with the back of a spoon or a small spatula. It might not look as neat, but the flavors are still spectacular.
Is this dessert suitable for kids?
Absolutely! Kids love the sweet apples and creamy cheesecake layers, and the jars make it fun to eat. Plus, there’s no alcohol or strong spices involved, so it’s a family-friendly treat that everyone can enjoy.
Conclusion
I hope you feel inspired to try this Apple Pie Cheesecake Jars Recipe soon because it truly brings together the best of both worlds: the classic comfort of apple pie and the smooth indulgence of cheesecake in a charming, easy-to-make jar. It’s a dessert that never fails to light up faces and create warm memories, whether you’re sharing it with loved ones or treating yourself. I promise once you give this a try, it’ll become a favorite go-to recipe in your kitchen just like it is in mine!
PrintApple Pie Cheesecake Jars Recipe

These Apple Pie Cheesecake Jars combine the creamy richness of cheesecake with the warm, spiced flavors of apple pie, all layered with a buttery graham cracker crust and topped with fluffy whipped cream. Perfect individual desserts that are visually appealing and delightfully delicious, ready in just about 2 hours.
- Prep Time: 30 minutes
- Cook Time: 25 minutes
- Total Time: 2 hours
- Yield: 8 servings
- Category: Dessert
- Method: Stovetop
- Cuisine: American
- Diet: Vegetarian
Ingredients
Cheesecake
- 1/2 cup heavy whipping cream
- 1/4 cup powdered sugar
- 4 ounces cream cheese, softened
- 1/4 cup raw sugar
- 1 teaspoon vanilla extract
Pie Filling
- 3 medium apples, diced
- 2 tablespoons lemon juice
- 2 tablespoons raw sugar
- 1 tablespoon all-purpose flour
- 1 teaspoon cinnamon
- 1 tablespoon maple syrup
- 2 tablespoons water
Crust
- 1 ¾ cup graham cracker crumbs
- 6 tablespoons butter, melted
Whipped Cream
- 1 cup heavy whipping cream
- ½ cup powdered sugar
- 1 tablespoon maple syrup
Instructions
- Whip Cream for Cheesecake: Pour 1/2 cup heavy whipping cream into a medium bowl and use an electric mixer on medium-high speed until the cream begins to thicken, then gradually add 1/4 cup powdered sugar in several additions and continue mixing until stiff peaks form. Set aside.
- Prepare Cream Cheese Mixture: In a large bowl, combine the softened cream cheese, 1/4 cup raw sugar, and 1 teaspoon vanilla extract using an electric mixer until smooth and creamy.
- Fold in Whipped Cream: Gently fold the prepared whipped cream into the cream cheese mixture until well incorporated, creating a light and fluffy cheesecake filling.
- Chill Cheesecake Filling: Transfer the cheesecake filling into a piping bag or gallon-sized plastic bag and refrigerate for at least 1 hour to chill, but do not cut the piping tip until ready to use.
- Cook Apple Pie Filling: Dice the apples and place them in a small saucepan. Add 2 tablespoons lemon juice, 2 tablespoons raw sugar, 1 tablespoon all-purpose flour, 1 teaspoon cinnamon, 1 tablespoon maple syrup, and 2 tablespoons water. Stir together and heat over medium heat, stirring occasionally until apples are soft, about 15-20 minutes. Remove from heat and allow to cool before assembling.
- Prepare Graham Cracker Crust: Use a food processor or crush the graham crackers manually to get fine crumbs. In a small bowl, combine 1 ¾ cups graham cracker crumbs with 6 tablespoons melted butter. Place about 2 tablespoons of this crumb mixture into the bottom of each jar. Do not press down; simply shake or spoon the crumbs to distribute evenly.
- Assemble Jars: Cut a small hole at the tip of the chilled cheesecake piping bag and pipe a layer of cheesecake filling over the graham cracker crust in each jar.
- Add Pie Filling: Spoon about 2 tablespoons of the cooled apple pie filling on top of the cheesecake layer in each jar and gently level it with the spoon.
- Top with Whipped Cream: Whip 1 cup heavy whipping cream with ½ cup powdered sugar and 1 tablespoon maple syrup until soft peaks form. Spoon or pipe the whipped cream over the apple filling layer in each jar.
- Garnish and Serve: Finish by topping each jar with any remaining graham cracker crumbs or a light sprinkle of cinnamon for extra flavor and decoration. Serve immediately or refrigerate until ready to enjoy.
Notes
- Use tart apples like Granny Smith for best flavor and texture in the pie filling.
- To make assembly easier, chill all components well before layering.
- You can prepare the apple filling a day in advance and store it refrigerated.
- The graham cracker crust is not pressed down to keep a crumbly texture for contrast.
- Adjust sweetness by reducing or increasing sugar based on apple sweetness.
- For an extra touch, add chopped nuts like pecans on the whipped cream topping.